LED Strip Closet Lighting: Wardrobes, Walk-Ins and Sensors
Where LED strip actually lights clothes in a reach-in or walk-in, which sensor turns it on, and how to power a full closet on two small drivers.
LED strip closet lighting works when the light reaches the clothes, not just the ceiling: a strip at the front edge of each shelf aimed back, vertical lines on the inside of the cabinet frame, or a lit hanging rod over the garments. Pair it with a high-CRI strip at 3000K to 4000K so colors look true, a door switch or motion sensor so it comes on by itself, and a small Class 2 driver, and a reach-in or walk-in goes from a dark box to a place where you can tell navy from black.
Below: where to put the strip in a reach-in vs a walk-in, color quality, sensor choices, power, channels for millwork, heat around fabric, and a worked example for a full walk-in.
Where the Light Goes: Reach-In vs Walk-In
The classic closet light, one fixture on the ceiling, fails for a simple reason: the shelf above the rod shades the clothes below it, and you stand between the light and the shelves. Strip fixes that by putting light inside the storage itself.
| Position | What it lights | Reach-in | Walk-in |
|---|---|---|---|
| Front edge of each shelf, aimed back | Folded stacks, shoes, bags on the shelf | Yes, on the top shelf | Yes, on every shelf |
| Vertical strips on the inside face of the cabinet frame | Hanging clothes from the side, full height | The best single position | On the side panels of each section |
| Under shelves, near the front | The shelf below or the hanging space beneath | Under the shelf above the rod | Under shelves and above drawer units |
| In the hanging rod or a wardrobe profile | The fronts of garments from above | Yes, if the rod is replaceable | Yes, every rod |
| Perimeter cove or ceiling line | General light for the room | Rarely needed | Common in larger walk-ins |
In a reach-in, vertical strips on both sides of the opening, on the inside face of the frame or the side panels, do the most work. They light hanging clothes edge to edge and stay out of sight from the bedroom. Add a strip under the shelf above the rod if the hanging space is deep.
In a walk-in, think in sections. Each shelving tower gets front-edge strip on its shelves, each hanging section gets a lit rod or vertical strips on its side panels, and a perimeter line or a few downlights handle the room.
Aim front-edge strip toward the back of the shelf. Pointed out into the room, it shines straight at you every time you bend down to a lower shelf.
Color Quality: CRI and CCT
A closet is one of the few rooms where color accuracy matters to everyone. Black, navy and charcoal look identical under poor light, and a strip with weak red rendering makes skin and warm fabrics look dull.
- CRI. Use 90 or higher. For a dressing area or a boutique-style walk-in, CRI 95 with a strong R9 (saturated red) value is worth it. The CRI 90 vs 95 comparison explains what the extra points buy.
- CCT. 3000K keeps a residential closet warm and matches most bedrooms. 3500K to 4000K is closer to daylight and better for judging color. The color temperature by room guide covers how to match the adjoining space.
- Consistency. Use one strip type for the whole closet so every section matches.
Output can be modest. Typical figures: 150 to 250 lm/ft for shelf strips, and 200 to 400 lm/ft for vertical strips lighting hanging clothes from the side. Shelves and rods are close to the strip, so you rarely need more.
Switching: Door Switches, Motion Sensors and Hand-Wave Sensors
Closet light should come on as you open the door or step in, and go off without anyone thinking about it.
| Control | How it works | Best for | Watch out for |
|---|---|---|---|
| Door switch | A plunger or magnetic (reed) contact turns the light on when the door opens | Reach-ins and wardrobes with hinged or sliding doors | A door left ajar leaves the light on; pick one with an auto-off timer |
| Motion (PIR) sensor | Detects body heat moving in its field | Walk-ins without doors, or with doors that stay open | Times out while you stand still choosing clothes; set a longer hold |
| Hand-wave sensor | Short-range infrared; a wave in front toggles the light | Individual sections, drawers, vanity areas | Small detection range; must be mounted where your hand naturally goes |
| Timer or smart switch | Wall control with an auto-off delay | Walk-ins on the room's lighting circuit | Needs a wall box and a line-voltage installation |
Most door switches and many PIR and hand-wave sensors sit on the 12V or 24V DC side, between the driver and the strip. Each has a maximum current, so check that rating against the load on the output it switches. If one sensor has to turn on several zones fed by separate drivers, use a sensor rated to trigger them all, or switch on the 120V side ahead of the drivers with a line-voltage sensor.
For walk-ins, put the PIR where it sees the entry and the area in front of each section, usually high on a wall or on the ceiling. A sensor that only sees the doorway turns the light off while you're at the back of the closet.
Powering Closet Strip
Closet loads are small, and that makes them a natural fit for Class 2 drivers. One 96 W Class 2 driver carries about 77 W of strip at the 80% rule, which is a whole reach-in and often half a walk-in. The Class 2 driver guide covers the wiring advantages.
Where the driver goes:
- Inside the millwork, in a ventilated space above a top shelf, behind a removable kick plate or in a top cabinet. Keep it accessible, never sealed behind a fixed panel.
- In the ceiling above the closet with an access panel, on a walk-in where the millwork has no spare space.
- Beside an existing receptacle. A plug-in driver into a closet receptacle is the simplest retrofit, as long as the cord stays inside the cabinet and doesn't pass through a wall.
A hardwired driver needs a junction box and a line-voltage circuit, which is a job for a licensed electrician and usually a permit. Low-voltage leads that run inside walls should be cable rated for the purpose, such as CL2 or CL3, kept apart from line-voltage wiring. The NEC also has specific rules for luminaires in clothes closets, including clearances from the storage area, so confirm how they apply to your layout with the inspector.
Channels for Closets and Millwork
Every closet strip belongs in an aluminum channel with a diffuser. Shoes, hangers and sweaters will hit it.
- Wardrobe channels are made for this: profiles shaped like a closet rod that light the garments below, and slim profiles for shelf edges and vertical frames. Browse them under wardrobe channels.
- Recessed channels routed into shelves or side panels give a flush line that clothes slide past. The recessed channels list each profile's width and depth for setting up the router. Cut the grooves before finishing, in the shop, not on site.
- Corner channels at 45° under a shelf front aim light back across the shelf instead of straight down.
Plan wire chases with the cabinet shop: a drilled hole at the end of each groove, a channel behind the back panel or a gap at the rear of the shelves to carry leads to the driver. Wiring that the shop doesn't plan for ends up stapled across the inside of a finished cabinet.
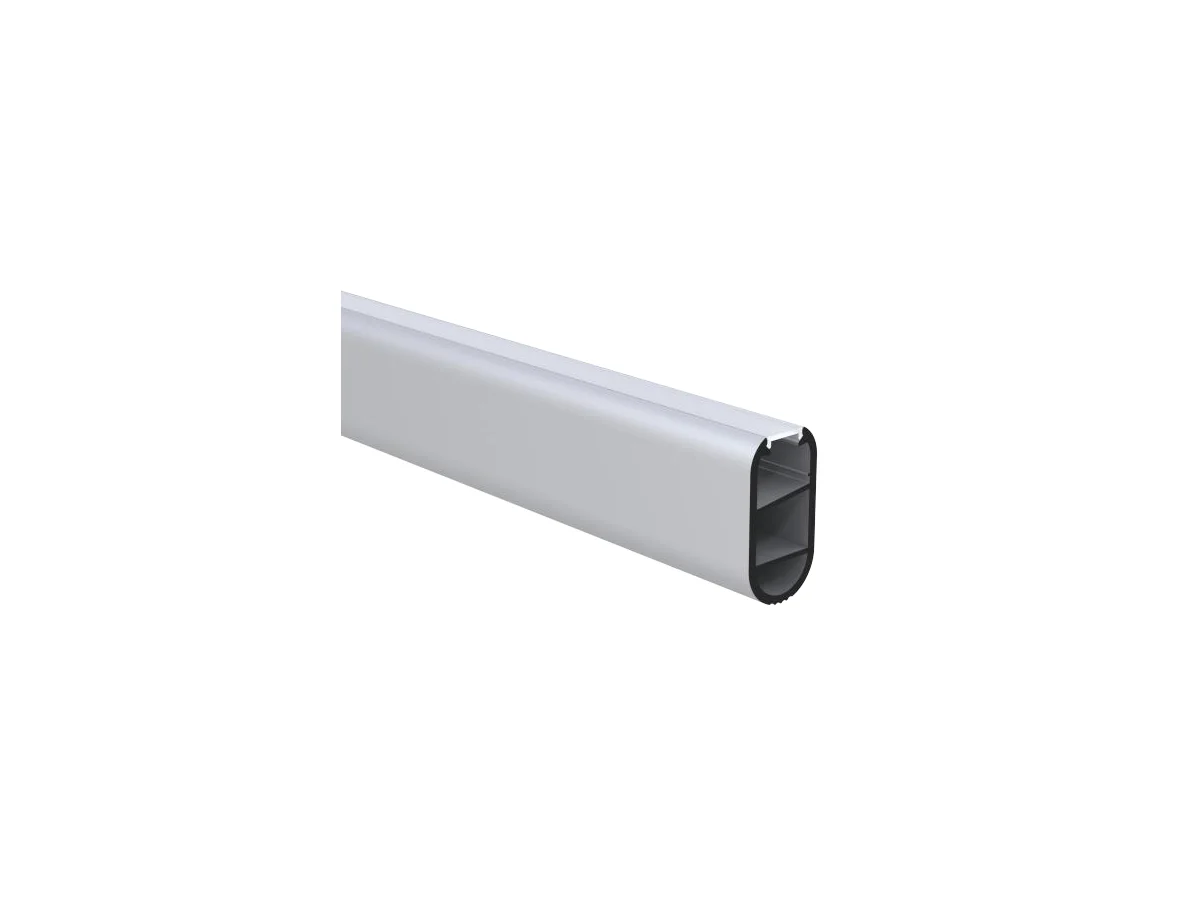
The cabinetry and millwork collection groups the strip types suited to shelves, cabinets and closets.
Heat, Fabrics and Clearance
LED strip runs warm, not hot. At the low wattages used in closets, a strip in an aluminum channel is typically warm to the touch, and the channel spreads that heat along its length. Our article on whether LED strip lights get hot goes into the numbers.
Still, give it space:
- Keep stored items off the strip. Sweaters stacked against a bare strip trap heat and block the light. A channel with a diffuser keeps fabric away from the LEDs.
- Mind the driver. The driver produces more heat than the strip. Don't bury it in a drawer of clothes or inside a sealed cabinet.
- UV isn't a concern. White LEDs put out virtually no ultraviolet in the beam, so they won't fade fabrics the way sunlight through a closet window will.
Worked Example: A Walk-In With Two Zones
A walk-in with one shelving tower, three hanging sections and lit side panels, using 24V high-CRI strip:
- Shelves: 7 shelves × 3 ft = 21 ft of front-edge strip.
- Rods: 3 rods × 5 ft = 15 ft in rod-style wardrobe channels.
- Verticals: 4 strips × 6 ft = 24 ft on the side panels of the hanging sections.
The shelf and rod strip is listed at 2 W/ft; the vertical strip, which lights clothes from farther away, at 3 W/ft.
- Zone 1 (shelves and rods): 21 + 15 = 36 ft × 2 W/ft = 72 W. 72 ÷ 0.8 = 90 W, so a 96 W Class 2 driver. Current: 72 ÷ 24 = 3.0 A.
- Zone 2 (verticals): 24 ft × 3 W/ft = 72 W. Also 90 W minimum, also a 96 W Class 2 driver, 3.0 A.
- One driver instead: 144 W total ÷ 0.8 = 180 W, so a 200 W supply. It isn't Class 2, so the low-voltage wiring follows power-circuit rules. Two Class 2 drivers are the easier install.
- Feed wire: both drivers sit above the closet ceiling near the door. The longest lead is 15 ft. At 3.0 A, 18 AWG drops 0.57 V (2.4%) and 16 AWG drops 0.36 V (1.5%). If the drivers move to a utility room 25 ft away, 18 AWG drops 0.96 V (4.0%), so step up to 16 AWG (0.60 V, 2.5%).
- Control: one ceiling PIR covering the entry and all sections, triggering both drivers through the 120V side, with a hold time long enough to pick an outfit.
Common Mistakes
- One light on the ceiling. The shelf above the rod shades the clothes. Put light inside the storage.
- Strip on the back wall behind clothes. It lights the backs of garments and the wall, not what you're looking at.
- Shelf strip aimed out. It glares every time you bend down. Aim it toward the back.
- Low-CRI strip. Navy and black become one color. Use CRI 90 or higher.
- A PIR that only sees the doorway. The light shuts off while you're inside. Cover the whole floor area.
- Sensor overloaded. A small DC door switch on a 3 A zone fails early. Check its current rating.
- Driver sealed in the cabinet. It needs air and has to be reachable for replacement.
- No wire plan with the cabinet shop. Grooves and chases are easy in the shop and ugly on site.
Frequently asked questions
Where should LED strip go in a closet?
On the inside face of the cabinet frame or side panels for hanging clothes, at the front edge of each shelf aimed back for folded items, and in a rod-style wardrobe channel above garments. A single ceiling light leaves the clothes in the shadow of the shelf above.
What is the best color temperature for closet lighting?
3000K for a warm residential closet that matches the bedroom, or 3500K to 4000K if judging color matters most. Pair either with CRI 90 or higher so dark colors and skin tones read true.
Can closet LED strip turn on automatically?
Yes. Use a door switch for reach-ins and wardrobes with doors, or a motion (PIR) sensor for walk-ins. Check that a low-voltage sensor's current rating covers the strip load it switches.
Is LED strip safe near clothes?
LED strip runs warm, not hot, and puts out virtually no UV. Mount it in an aluminum channel with a diffuser, keep stored items off it and give the driver ventilation.
What size driver do I need for closet LED strip?
Add up the strip watts and divide by 0.8. A typical reach-in fits on one 96 W Class 2 driver, which carries about 77 W of strip; a large walk-in usually splits into two or more zones.
Specify with ENKORA
Working on a project? Send us the drawings and we will propose strips, profiles and drivers that fit together.