LED Deck Lighting Strips for Steps, Rails and Landscape
Where outdoor strip goes on a deck and in the garden, which IP rating each spot needs, how to mount and seal it so it lasts, and how to size drivers and wire for the run.
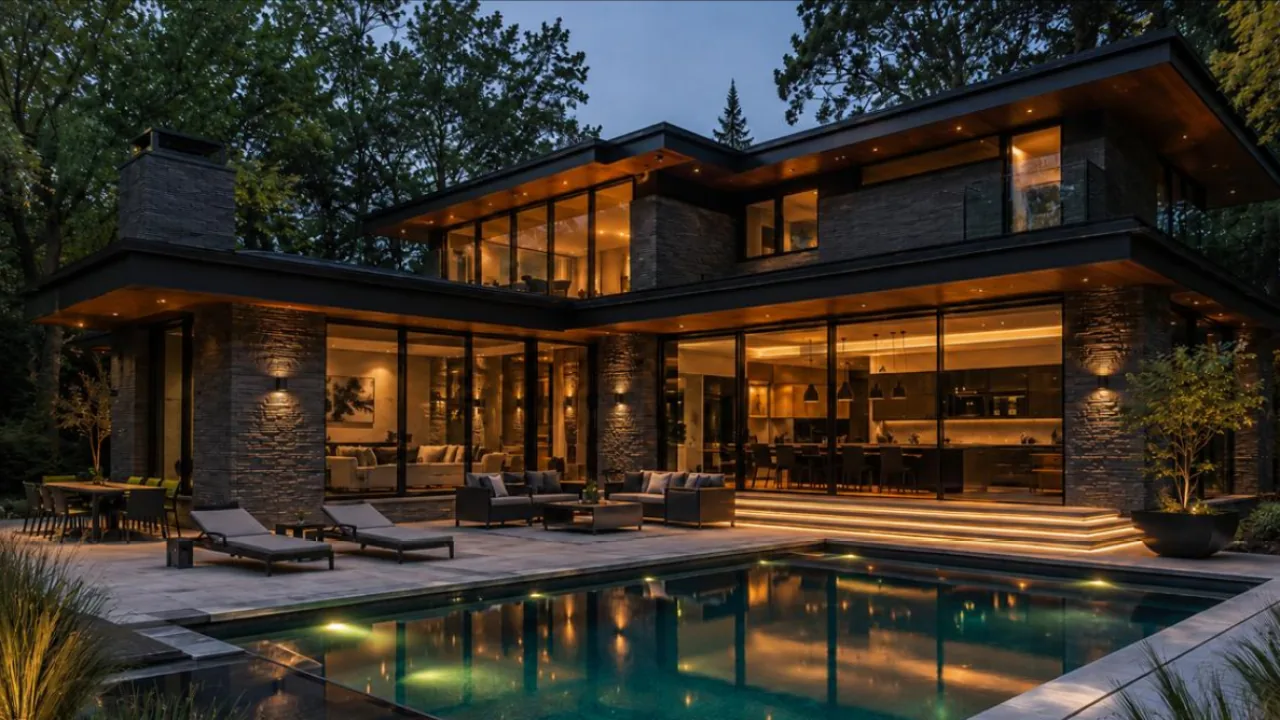
LED deck lighting strips work best tucked out of sight: under step nosings, beneath cap rails, along fascia and on garden walls, always in an aluminum channel and always with an outdoor IP rating that matches how wet the spot gets. Get those two things right, plus a sealed power connection and wire sized for the distance, and an outdoor strip install will look the same in five years as on the first night. Get them wrong and you'll be peeling strip off a wet deck board by the first winter.
Below: where strip goes outdoors, which rating each position needs, how to mount and power it, and a worked example for a deck with steps and a rail.
Where Strip Goes on a Deck and in the Garden
The goal outdoors is light on the surface, not a visible source. That means mounting the strip under an edge and aiming it at the tread, the deck or the wall below.
| Position | IP rating typically needed | Mounting | Notes |
|---|---|---|---|
| Under step nosings | IP65 to IP67 | Channel screwed under the tread overhang or to the top of the riser | Lights the tread below; keeps glare out of the eyes of anyone walking down |
| Under cap rails | IP65 | Channel screwed to the underside of the rail | Sheltered from rain; washes the balusters and deck surface |
| Along fascia | IP65 to IP67 | Channel screwed to the fascia board, under the deck edge | Takes rain and splash from the deck above |
| Pergola beams | IP65 | Channel on the side or underside of the beam | Overhead and sheltered; good for an upward or downward wash |
| Garden walls and planters | IP67 | Channel under the wall cap or planter lip | Irrigation spray, soil and standing moisture |
| Path edges | IP67; IP68 only where water can pool over it | Channel on an edging or curb, off the soil | Keep connections above grade |
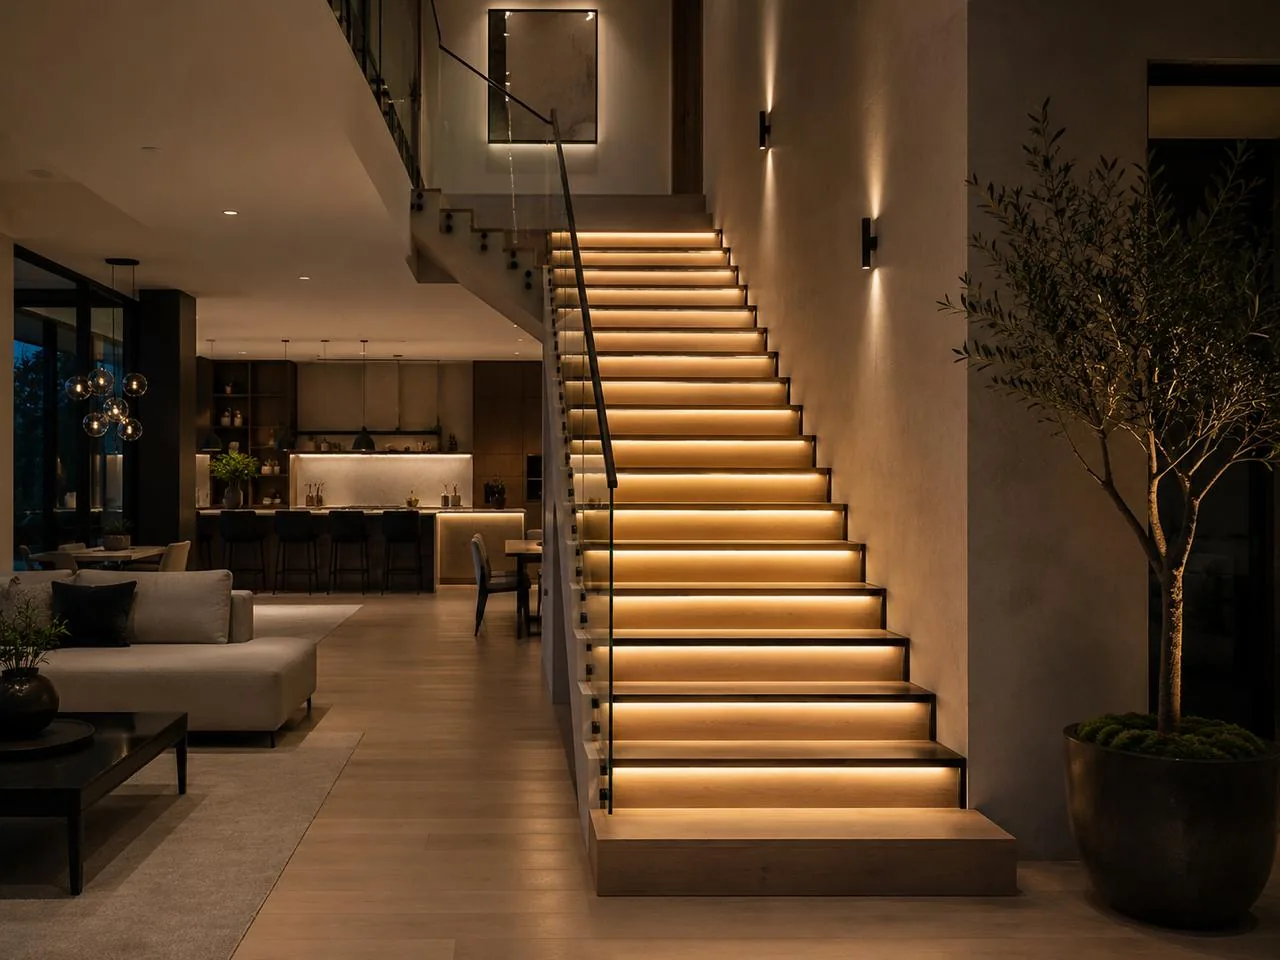
Step lighting is the job that matters most for safety. A line under each nosing makes every tread readable at night without lighting up the whole yard. For strips and neon suited to these spots, start with the deck, step and path collection and the landscape collection.
IP65 vs IP67 vs IP68 Outdoors
The two digits of an IP rating describe protection against solids and water. For outdoor strip, the second digit is the one that matters:
- IP65 strip usually has a silicone coating over the top of the board. It handles rain and splashing, but the back is often open. It's the right choice for sheltered spots: under rails, under pergola beams, under deep nosings.
- IP67 strip is fully encapsulated or sleeved in silicone and is tested for temporary immersion. Use it where water hits it directly or collects nearby: fascia, garden walls, planters, path edges.
- IP68 is tested for continuous submersion under conditions the manufacturer specifies. Outdoors, you only need it where the strip may actually sit under water, such as a low spot at a path edge or a water feature. It isn't a "better IP67" for dry locations.
The IP ratings guide explains each test. Whatever the rating, it applies to the product as shipped. Every cut end and every splice you make in the field has to be resealed to keep it. The outdoors collection groups strip and neon by rating.

Sun, Heat and Cold
Outdoor strip faces conditions an interior strip never sees:
- UV. Sunlight breaks down some plastics over time. PVC jackets and cheap diffusers can yellow and turn brittle. Silicone holds up better. Mount strip where it's shaded by the nosing, rail or cap whenever you can.
- Heat. A dark composite deck in full summer sun gets too hot to stand on barefoot. A strip in an aluminum channel on that deck starts the evening already warm. Check the operating temperature range on the spec sheet against your climate.
- Cold and cycling. Day-night swings expand and contract the channel, the strip and the adhesive at different rates. Adhesive tape that holds fine indoors creeps and lets go outdoors after a season or two.
- Moisture cycling. Dew and condensation form inside channels overnight. Water that can't drain sits on the strip.
Mounting: Channels, Screws and Sealing
The single most common outdoor failure is strip stuck to wood with its own adhesive tape. It holds for a few weeks, then the wood moves, the tape gets wet, and the strip sags. Outdoors, mechanical fixing is the rule.
- Use an aluminum channel, fixed with screws. The strip's tape holds it in the channel; the screws hold the channel to the structure. Stainless screws avoid rust streaks. See waterproof channels for profiles built for wet locations.
- Let the channel drain. Leave a small gap at the low end or angle the channel so condensation doesn't pool.
- Seal every cut end. Use the end caps and sealant specified for that strip. A dry fit isn't enough; water wicks along the copper from an open end.
- Make drip loops. Where a lead leaves the strip or enters a box, let the cable dip below the entry point so water drips off the bottom of the loop instead of running into the connection.
- Keep connections off the ground. Splices belong in a weatherproof junction box or a rated gel-filled connector, mounted on a post or under the deck frame, never lying in mulch.
- Support the leads. Clip cables to the framing every foot or so. A lead that flaps in the wind eventually breaks at the strip.

Powering Outdoor Strip
Outdoor strip runs on the same constant-voltage DC as indoor strip, usually 24V for outdoor runs because it carries the same power at half the current of 12V. A few points are specific to outdoor work.
Landscape transformers are not LED drivers. A typical landscape lighting transformer puts out 12V AC (often with multiple taps) for path and spot fixtures. Most LED strip needs DC. Don't connect strip to a landscape transformer unless the strip's spec sheet says it accepts AC input. Use an LED driver with the right DC output voltage.
Put the driver somewhere dry. The best spot is indoors, in a garage, or under the deck in a weatherproof enclosure. If the driver itself is outdoor-rated, still mount it off the ground and out of direct spray.
Feed it from a protected circuit. Outdoor receptacles at homes generally need GFCI protection and a weather-resistant in-use cover. A hardwired driver also needs a proper outdoor wiring method. Confirm the requirements with your local inspector or a licensed electrician.
Know which rules apply. NEC Article 411 covers low-voltage lighting systems, including the expectation that the power supply and system are listed and limits on installing them near pools, spas and fountains (which fall under Article 680). A Class 2 driver limits output to 100 VA, which simplifies the low-voltage wiring. Our Class 2 LED driver guide explains the details. Code requirements vary by jurisdiction, so check locally before you finalize the design.
Use cable rated for the location. Low-voltage wire run outdoors or buried should be rated for wet locations or direct burial as appropriate. Ask your inspector what depth and protection they expect.
Voltage Drop on Long Outdoor Runs
Outdoor jobs have long feeds. The driver is at the house, and the steps or the far planter are 40 or 60 ft away. On 24V, every volt lost in the feed is 4% of your supply, and it shows up as dimmer, warmer-looking strip at the far end.
Voltage drop on a two-wire feed is 2 × one-way length × current × resistance per foot. Keep it to about 3% (0.72 V at 24V). If the math says otherwise, step up a wire size, move the driver closer, or split the load into separate feeds. The LED strip wire gauge chart has the maximum distances worked out for common loads.
Long strip runs also have their own drop inside the strip. On a long cap rail, feed the strip at the center or from both ends rather than from one end.
Controls
Outdoor lighting nobody remembers to switch on doesn't get used. Common choices:
- Photocell. Turns the lights on at dusk and off at dawn. Simple, but it runs all night unless paired with a timer.
- Astronomical timer. Calculates sunset and sunrise for your location, so you can set "on at dusk, off at 11 p.m." without seasonal adjustments.
- Smart controller. A Wi-Fi or app-based controller on the low-voltage side lets the owner dim, schedule and group zones. Keep it in the dry enclosure with the driver; outdoor wireless range can be shorter than you expect.
Worked Example: Deck Steps and a Cap Rail
A deck has 6 steps, each 4 ft wide, plus 30 ft of cap rail. You plan an outdoor 24V strip at an example rating of 2.5 W/ft under each nosing and under the rail. The drivers sit in a weatherproof enclosure near a GFCI-protected receptacle at the house. The bottom of the stairs is 40 ft from the enclosure; the center of the rail is 25 ft away.
1. Lengths and loads
| Zone | Length | Load | Current at 24V |
|---|---|---|---|
| Steps | 6 × 4 ft = 24 ft | 24 × 2.5 = 60 W | 2.5 A |
| Cap rail | 30 ft | 30 × 2.5 = 75 W | 3.125 A |
| Total | 54 ft | 135 W | 5.625 A |
2. Drivers. One driver for the whole deck would need 135 ÷ 0.8 = 168.75 W, which is over the 100 VA Class 2 limit. Split it into two zones instead:
- Steps: 60 ÷ 0.8 = 75 W minimum. A 96 W Class 2 driver runs at about 63% of its rating.
- Cap rail: 75 ÷ 0.8 = 93.75 W minimum. A 96 W Class 2 driver runs at about 78%.
Two zones also let you put the steps on a dusk-to-dawn schedule and the rail on a dimmer.
3. Feed wire for the steps (2.5 A, 40 ft one-way)
| Wire | Drop | % of 24V |
|---|---|---|
| 16 AWG | 2 × 40 × 2.5 × 0.004016 = 0.80 V | 3.3% |
| 14 AWG | 2 × 40 × 2.5 × 0.002525 = 0.51 V | 2.1% |
16 AWG misses the 3% target, so use 14 AWG. At the bottom of the stairs, branch short leads up the stringer to each step.
4. Feed wire for the rail (3.125 A, 25 ft one-way)
| Wire | Drop | % of 24V |
|---|---|---|
| 16 AWG | 2 × 25 × 3.125 × 0.004016 = 0.63 V | 2.6% |
| 14 AWG | 2 × 25 × 3.125 × 0.002525 = 0.39 V | 1.6% |
16 AWG passes, but 14 AWG leaves margin for the strip's own drop and lets you pull one wire size for the whole job. Feed the rail at its center so each leg is 15 ft (37.5 W, about 1.56 A), and check that 15 ft is within the strip's maximum run on its spec sheet.
Common Mistakes
- Relying on the strip's adhesive. It fails outdoors. Screw a channel to the structure.
- Using IP65 strip where water collects. On fascia, planters and path edges, use IP67 or better.
- Specifying IP68 everywhere "to be safe." It costs more and isn't needed unless the strip is submerged. Seal ends properly instead.
- Leaving cut ends open or dry-fitted. Water wicks along the copper and corrodes the strip from the end in.
- Splices on the ground. Connections in mulch or soil fail first. Mount them in a weatherproof box off the ground.
- Hooking strip to a landscape transformer. A 12V AC output won't run DC strip properly. Use an LED driver.
- Undersized feed wire on long runs. The far steps end up dimmer than the near ones. Do the voltage drop math before you pull wire.
- No drip loops. Water follows the cable straight into the connection.
Frequently asked questions
What IP rating do I need for LED deck lighting strips?
IP65 is typically enough for sheltered spots such as under cap rails and deep step nosings. Use IP67 where water hits the strip or collects nearby, like fascia, planters and path edges, and IP68 only where the strip may be submerged.
Can I stick LED strip directly to a deck?
Not for a lasting install. Adhesive tape loses its grip outdoors as wood moves and temperatures swing. Mount the strip in an aluminum channel and screw the channel to the deck or stair framing.
Can I connect LED strip to a landscape lighting transformer?
Usually not. Most landscape transformers put out 12V AC, while most LED strip needs constant-voltage DC from an LED driver. Only connect strip to AC if its spec sheet says it accepts AC input.
Do outdoor LED strip lights need a GFCI?
Outdoor receptacles at homes generally need GFCI protection and a weather-resistant in-use cover, and hardwired drivers need an approved outdoor wiring method. Confirm the requirements with your local inspector or a licensed electrician.
Should I use 12V or 24V strip outdoors?
24V is usually the better choice outdoors because it draws half the current of 12V for the same power, which means less voltage drop on long feeds and longer runs between feed points.
Specify with ENKORA
Working on a project? Send us the drawings and we will propose strips, profiles and drivers that fit together.