LED Strip Behind a Mirror: Vanity and Bathroom Lighting That Works
How to put LED strip behind a mirror for an even halo, where side and overhead lines belong for grooming, and how to size and place the driver in a bathroom.
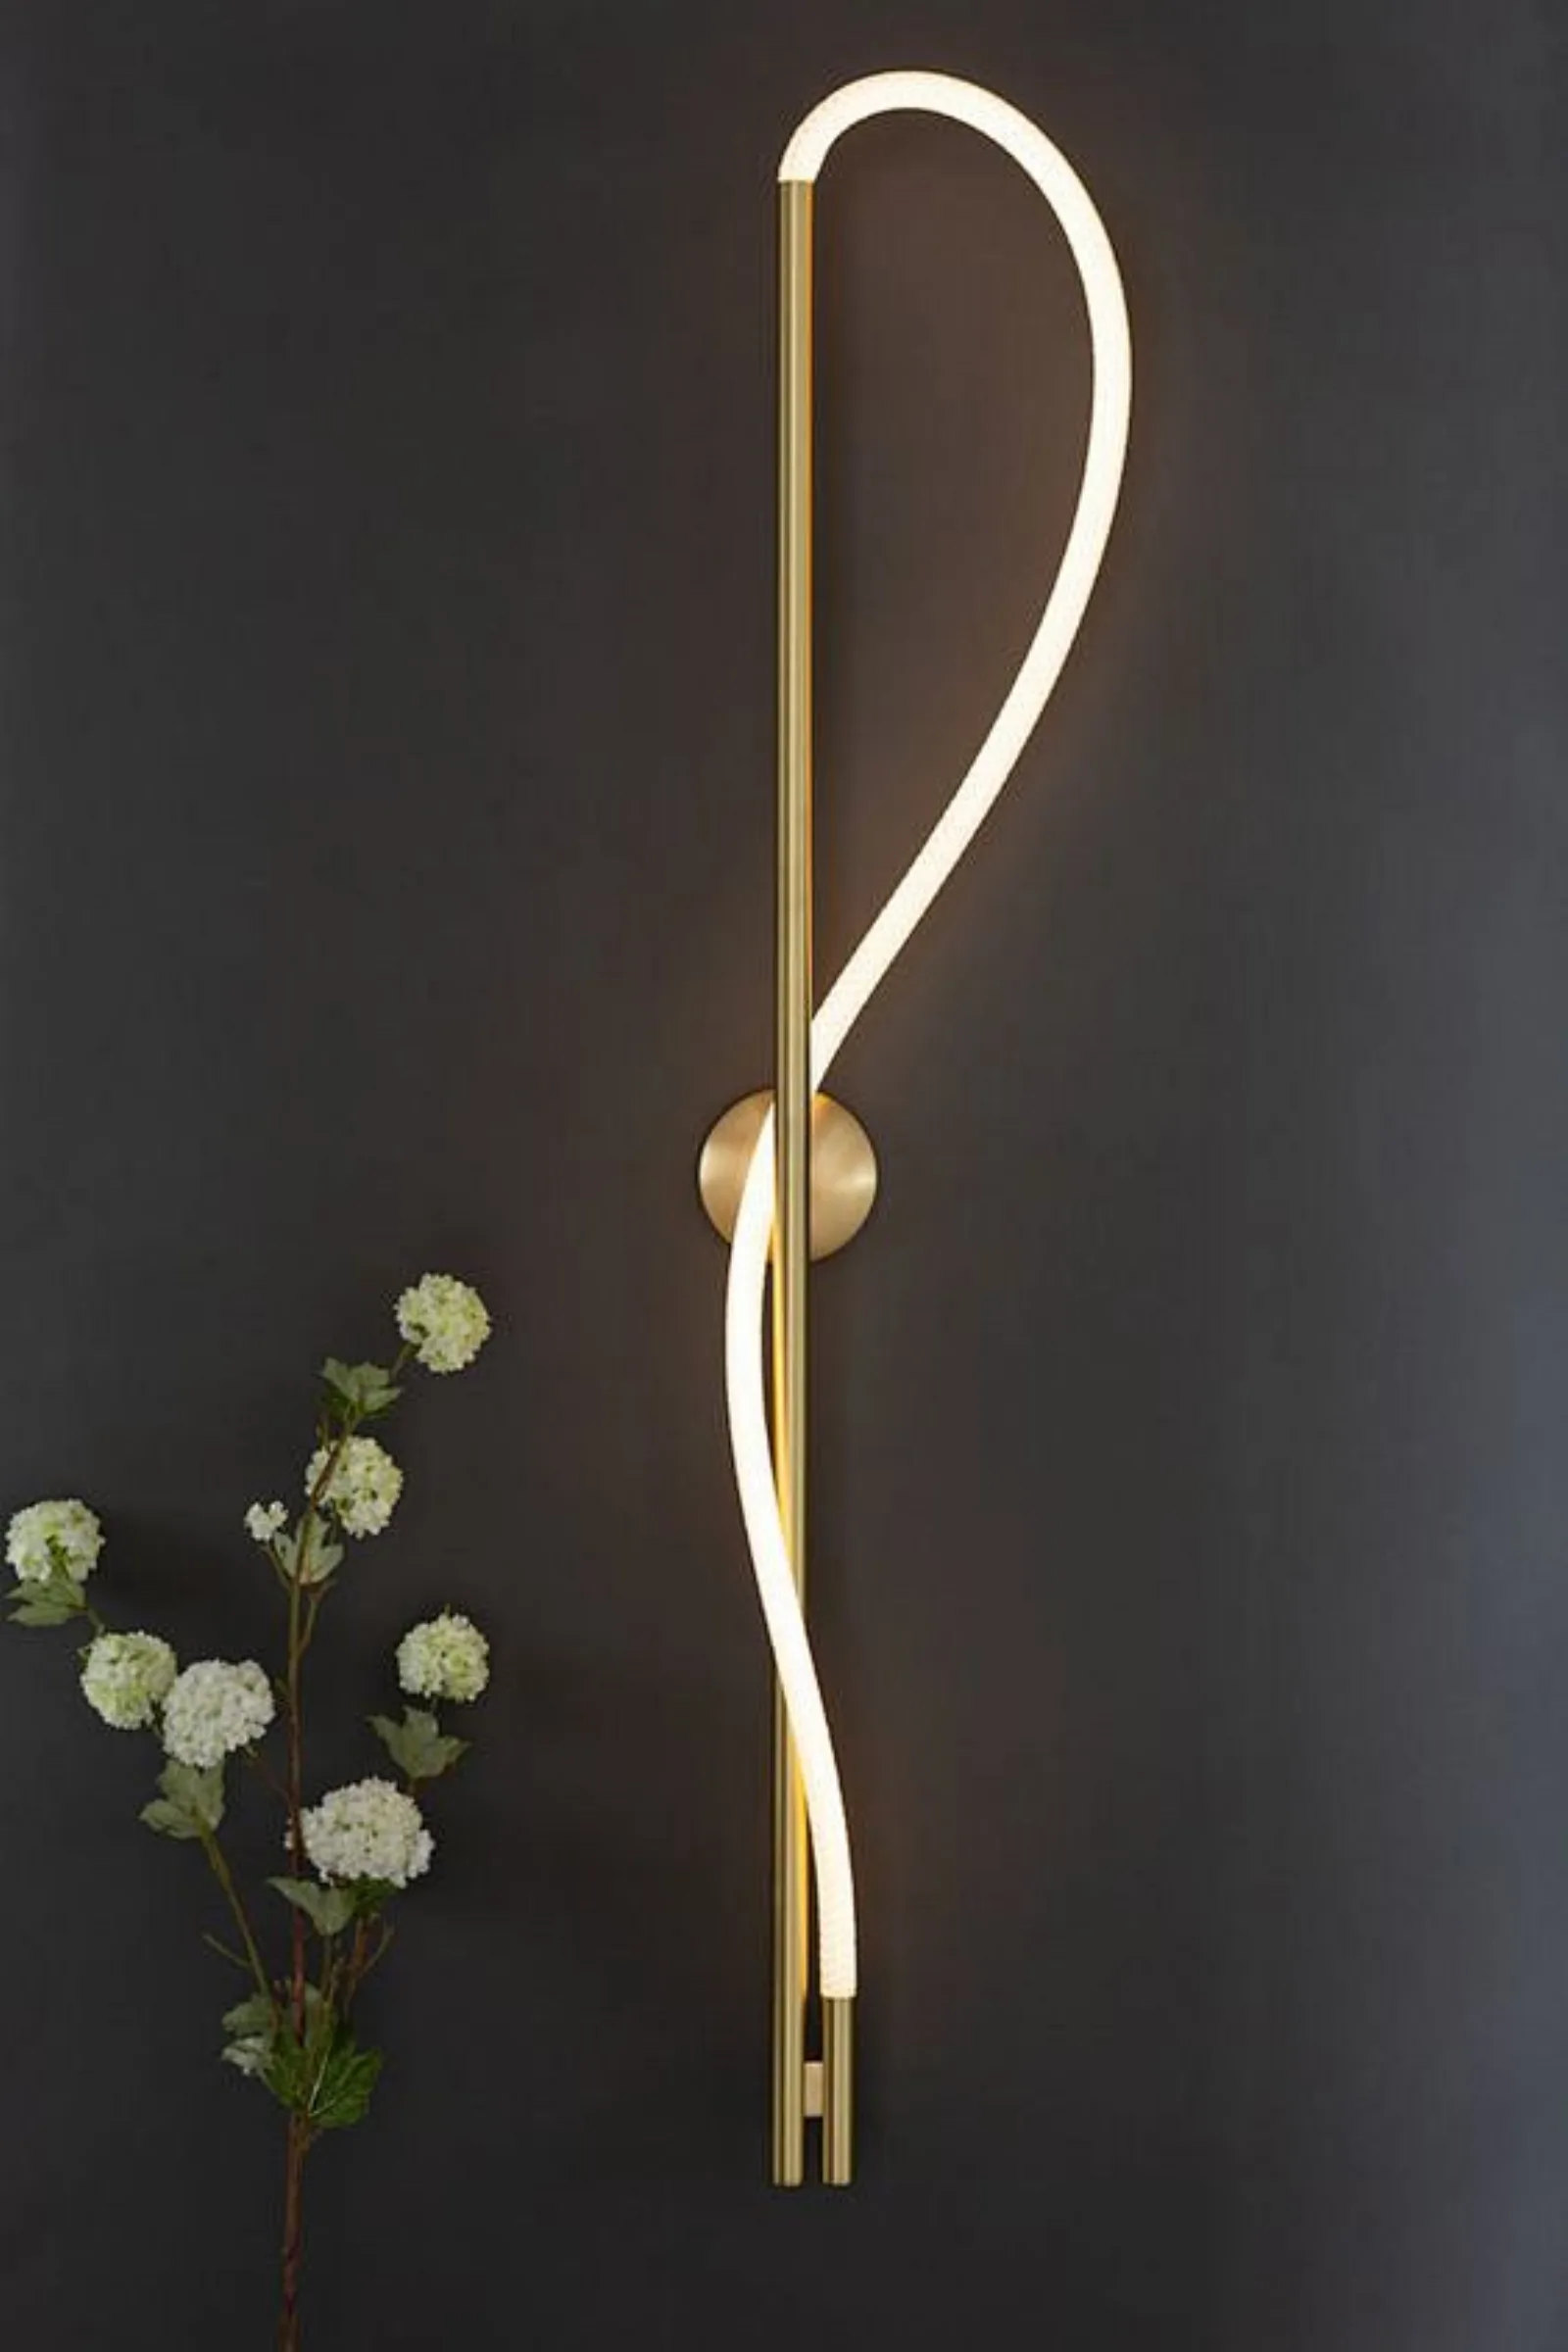
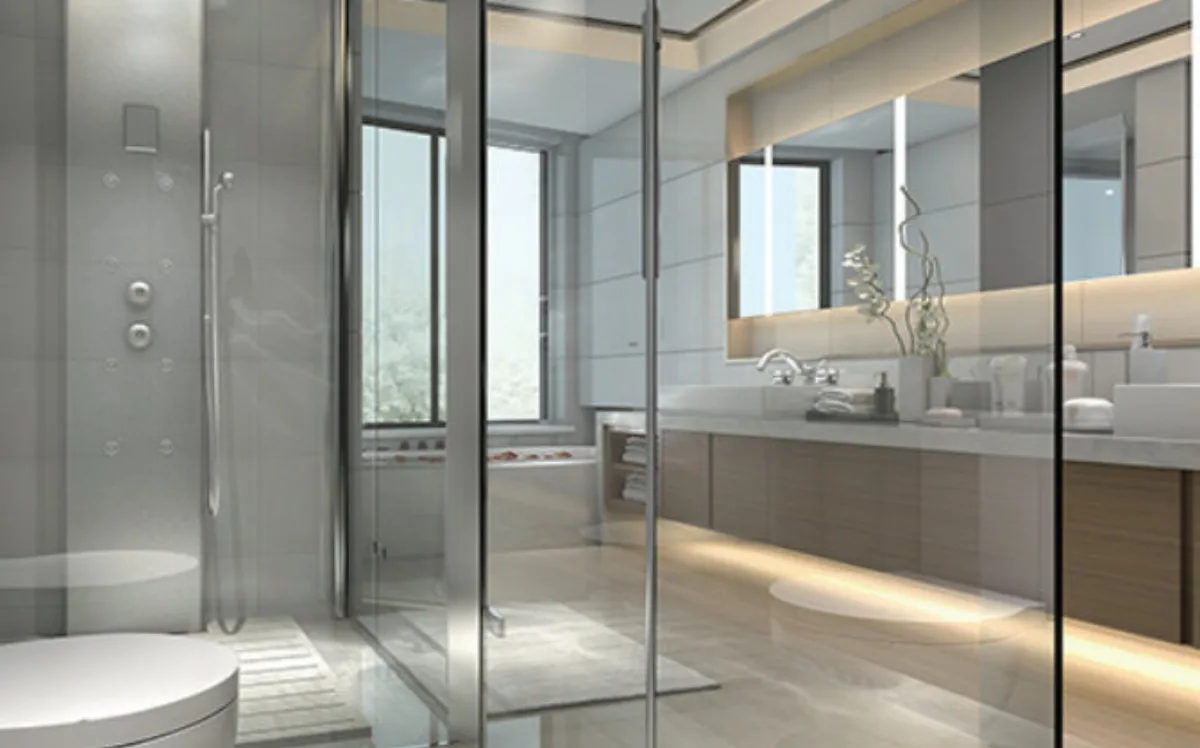
LED strip behind a mirror makes a soft halo on the wall that makes the mirror look like it floats, and it's one of the easiest bathroom upgrades to get right. What it doesn't do is light your face. The halo sends light at the wall, not at you, so for shaving, makeup or contacts you also want vertical light at the sides of the mirror at face height. Plan both: the halo for the look and the night, the side lines for the work.
Below: what each strip position does, how to mount a strip behind a mirror so the glow is even and the strip stays hidden, the damp-location and tub-zone questions, color and CRI for faces, dimming, driver placement and a worked example for a 30 × 36 in. mirror.
Halo vs Side Lighting: What Each One Does to a Face
A backlit mirror puts the light source behind the glass, pointed at the wall. The wall becomes a large, soft, dim reflector around the mirror. It looks good from across the room, it's a gentle night light, and it hides the hardware. But when you stand in front of the mirror, your face is between you and a bright frame of light. You're lit from behind and a little from the edges, and the front of your face sits in relative shadow.
Overhead light has the opposite problem. A single bar or downlight above the mirror lights the top of your head and throws shadows under your brows, nose and chin. That's the classic hotel-bathroom face.
Side lighting at face height fixes both. Two vertical sources, one on each side of the mirror (or one on each side of the face, set into the mirror itself), light the face from the front at a shallow angle from both directions. Shadows from one side get filled by the other. Typical guidance is to center vertical lights around 60 to 66 in. above the finished floor, roughly eye level for most adults, and to keep them about 30 to 40 in. apart so they straddle the face. Adjust for the people who actually use the room.
Strip Positions and What They're Good For
Most good vanities layer two or three of these. Each position is a separate zone if you want to control it separately.
| Position | Effect | Good for |
|---|---|---|
| Behind the mirror (halo) | Soft glow on the wall around the mirror edge | Look of a floating mirror, ambient and night light |
| Sides of the mirror (vertical) | Even light across the face from both sides | Shaving, makeup, skin care, contacts |
| Above the mirror (horizontal) | Light down onto head and counter | Counter task light; pair with side light, not alone |
| Under a floating vanity | Glow on the floor below the cabinet | Night light, makes the vanity look lighter |
| Ceiling cove | Indirect fill across the whole room | General light without glare in the mirror |
Side lighting can be a strip in a channel mounted to the wall beside the mirror, a vertical line routed into the mirror frame, or a pair of linear sconces. Above-mirror strip works best with a diffuser and a shield so the bare line isn't reflected straight back at you.
Mounting LED Strip Behind a Mirror
The look depends on three dimensions: how far the mirror stands off the wall, how far the strip is set back from the mirror edge, and which way the strip faces.
Standoff from the wall
The gap between the back of the mirror and the wall is what spreads the light. With too little standoff, the strip makes a bright, narrow line on the wall right behind it and the edge of the halo is hard. More standoff gives a wider, softer gradient. A typical range is about 1 to 2 in. between mirror back and wall. Under an inch, expect a tight, intense band. If the mirror sits on a cleat or a frame, that frame sets the standoff, so decide it before anyone orders hardware.
Setback from the edge
Set the strip back from the mirror edge far enough that a person standing at the vanity, or walking past at an angle, can't see it. About 1 to 2 in. in from the edge is typical. Set it further in and the halo gets narrower and dimmer, because more of the light lands behind the glass where nobody sees it.
Which way the strip faces
You have two common options:
- Facing the wall. The strip is mounted flat on the back of the mirror or frame, emitting straight back. Simple and bright, but the wall right behind the strip gets the most light. On glossy tile or polished stone, you may see a reflection of each LED.
- Facing outward. The strip is mounted on the edge of a frame or in an angled channel so it shines out toward the gap at the mirror edge. The light grazes the wall and spreads further, giving a more even halo. It's harder to keep hidden, so check sight lines.
Either way, a COB strip or a high-density SMD strip with a diffuser avoids the row of dots that shows up on shiny walls. Do a mockup on the actual wall finish before the mirror goes up. Five minutes with a scrap of strip and a battery pack or bench supply will tell you more than any drawing.
Channel, not adhesive alone
Don't stick bare strip to the painted back of a mirror and walk away. The paint layer isn't a reliable bonding surface, the adhesive softens with warmth and humidity, and a peeled strip behind a heavy mirror means a full rehang. Mount the strip in an aluminum channel, and fasten the channel to the mirror frame, the cleat or a backer panel. A surface-mount channel is usually the right profile here: shallow, easy to fasten and wide enough for a diffuser. The aluminum also pulls heat out of the strip, which matters in a closed gap behind glass.
At the corners, either cut the strip and join the sides with short soldered jumpers or connectors, or use a strip that tolerates a flat bend. Keep the dark gap at each corner small, or the halo shows four bright sides and four dim corners.
Damp Locations and the Tub and Shower Zone
A bathroom is a damp location by any practical definition. Steam from the shower condenses on the mirror and the wall behind it, and splash from the sink reaches the lower edge. For strip behind a vanity mirror that's away from the tub and shower, look for a strip with a coated or encapsulated build and check its IP rating on the spec sheet; the rating, not the marketing, tells you what moisture it can handle. Coated IP65 to IP68 strips, which suit bathrooms as well as exteriors, are grouped in the waterproof collection.
The tub and shower are a separate question. NEC 410.10(D) sets rules for luminaires within a defined zone around bathtubs and showers, including where fixtures must be suitable for damp or wet locations. If the mirror is beside the tub or across from an open shower, part of it may fall inside that zone. The shower niche article explains the zone and the ratings in more detail. Code editions and local amendments vary, so confirm with your inspector or a licensed electrician before you buy product, not after the tile is set.
Color Temperature and CRI for Faces
A mirror light has one real job: show your face the way it looks in daylight, without making it look worse. Two specs carry most of that.
CRI. Skin tones depend on the deep reds, so look at the R9 value, not just the headline CRI. CRI 90 is the minimum for a vanity. CRI 95 and above is worth it where makeup gets done or where you want accurate color on skin and hair. The CRI 90 vs 95 comparison shows where the difference is visible.
Color temperature. 2700K to 3000K is the flattering range for most homes: warm enough to be kind to skin, close enough to the rest of the house that the bathroom doesn't feel like a different building. 3000K is a good compromise when one person shaves and another does makeup. 3500K and up starts to look clinical, and a cool, low-CRI strip makes skin look gray and flat. The 2700K vs 3000K vs 4000K guide goes room by room.
Match the CCT of every layer at the vanity. A 2700K halo next to 4000K side lights looks like a mistake in person and in every photo.
Dimming and Night Light Settings
At 2 a.m. nobody wants full output at the mirror. Plan for it:
- Dim the halo. A dimmable driver on the halo zone lets it run at 10 to 20% as a night light. Pick the dimming method (0-10V, ELV/TRIAC or a low-voltage controller) to match the wall dimmer you plan to use.
- Separate zones. Put the side lights, the halo and the under-vanity line on separate drivers or separate controller channels. Grooming light at full, halo low, under-vanity at a glow covers almost every use.
- Sensor for the floor line. An under-vanity line on an occupancy sensor at low output is a better night light than any mirror setting, because it lights the floor without hitting your eyes.
Some lighted mirrors include a dimmer or tunable white built in. If you're building your own, keep the controls on the wall where you can reach them, not on the mirror.
Where the Driver Goes
The driver needs to stay reachable for its whole service life. Drivers fail before LEDs do, and a driver sealed behind a mounted mirror with no access means taking the mirror down, and sometimes cutting drywall, to replace a part that costs far less than the labor.
Good locations:
- Inside the vanity cabinet, behind a removable back panel or in a ventilated box. It's dry, close and easy to get to. Bring the low-voltage cable up inside the wall to the mirror.
- An adjacent closet or linen cabinet, with a short feed run.
- A recessed box above the ceiling or beside the mirror with an accessible cover, where local rules allow it.
Keep the driver out of the tub and shower zone and away from spray. Use a Class 2 driver so the low-voltage side can usually be run with Class 2 cable, and keep the 120V side in boxes the way your electrician would wire any fixture. Leave enough slack in the low-voltage leads that the mirror can come off the wall without unplugging anything in a hurry.
Worked Example: Halo on a 30 × 36 in. Mirror
A 30 in. wide by 36 in. tall mirror, mounted 1.5 in. off the wall on a frame. The strip sits on the frame, set back 1.5 in. from each edge, so the strip rectangle is 27 × 33 in. Driver in the vanity cabinet, 8 ft of cable away. We'll use a 24V strip with a spec sheet rating of 4 W/ft; check yours.
- Strip length: 2 × (27 + 33) = 120 in. = 10 ft. For comparison, the full mirror perimeter is 132 in., which is why you measure the strip path, not the glass.
- Load: 10 ft × 4 W/ft = 40 W.
- Driver: 40 W ÷ 0.8 = 50 W minimum, so a 60 W 24V dimmable driver. That's comfortably inside a Class 2 output.
- Current: 40 W ÷ 24V = 1.67 A.
- Feed wire: 8 ft one way on 18 AWG (6.385 Ω per 1,000 ft): 2 × 8 × 1.67 × 0.006385 = 0.17 V, about 0.7% of 24V. 18 AWG is fine.
- Under-vanity line (separate zone): 4 ft at 2 W/ft = 8 W. 8 ÷ 0.8 = 10 W, so the smallest standard driver, typically 30 W, on a sensor.
If you'd rather run both from one supply, the total is 48 W, and 48 ÷ 0.8 = 60 W, so the same 60 W driver can carry both, but they'll dim together unless you add a two-channel controller. The power supply calculator does the arithmetic for other sizes.
Common Mistakes
- Hot spots from too little standoff. A mirror hung flat on clips with a strip behind it leaves maybe half an inch of gap. You get a hard bright stripe on the wall instead of a halo. Build the standoff into the frame.
- Visible dots on glossy walls. Low-density strip facing polished tile reflects every LED. Use COB or a diffused high-density strip, and mock it up.
- Cool CCT, low CRI. A 4000K or 5000K strip with CRI in the 80s makes skin look gray and tired. Stay at 2700K to 3000K, CRI 90 or better.
- Halo as the only light at the mirror. It looks great in the listing photos and fails the first morning. Add side light at face height.
- Driver sealed behind the mirror. No access, no ventilation, and a remount to replace it. Put it in the vanity or another accessible box.
- Bare strip on the mirror backing. Adhesive lets go in a warm, humid bathroom. Use channel fastened to the frame or backer.
- Ignoring the tub zone. A mirror next to a tub may sit inside the zone covered by NEC 410.10(D). Check before you specify.
Frequently asked questions
How far should a mirror be from the wall for LED strip behind it?
A standoff of about 1 to 2 in. between the back of the mirror and the wall is typical. Less than an inch gives a narrow, hard band of light; more gives a wider, softer halo. Mock it up on the real wall finish before you mount the mirror.
Is a backlit mirror good enough for doing makeup?
Not on its own. A halo lights the wall behind the mirror, not your face. For makeup and shaving, add vertical light on both sides of the mirror at face height, with CRI 90 or higher.
What color temperature is best for bathroom vanity LED strip?
2700K to 3000K suits most homes and flatters skin. 3000K is a good middle ground for a shared vanity. Keep every layer at the mirror the same CCT so the light doesn't look mismatched.
Where do you put the LED driver for a backlit mirror?
Somewhere you can reach it without taking the mirror down: inside the vanity cabinet behind a removable panel, in an adjacent closet, or in an accessible box. Keep it out of the tub and shower zone and away from splash.
Does LED strip behind a bathroom mirror need to be waterproof?
It needs to suit a damp location, since steam reaches the gap behind the mirror. Check the strip's IP rating on its spec sheet, and if the mirror is near a tub or shower, confirm the requirements of NEC 410.10(D) with your inspector.
Specify with ENKORA
Working on a project? Send us the drawings and we will propose strips, profiles and drivers that fit together.