Class 2 LED Drivers Explained for Low-Voltage LED Strip
What the Class 2 marking on an LED driver actually buys you, how the 100 VA ceiling shapes a layout, and how to split a long run across several drivers.
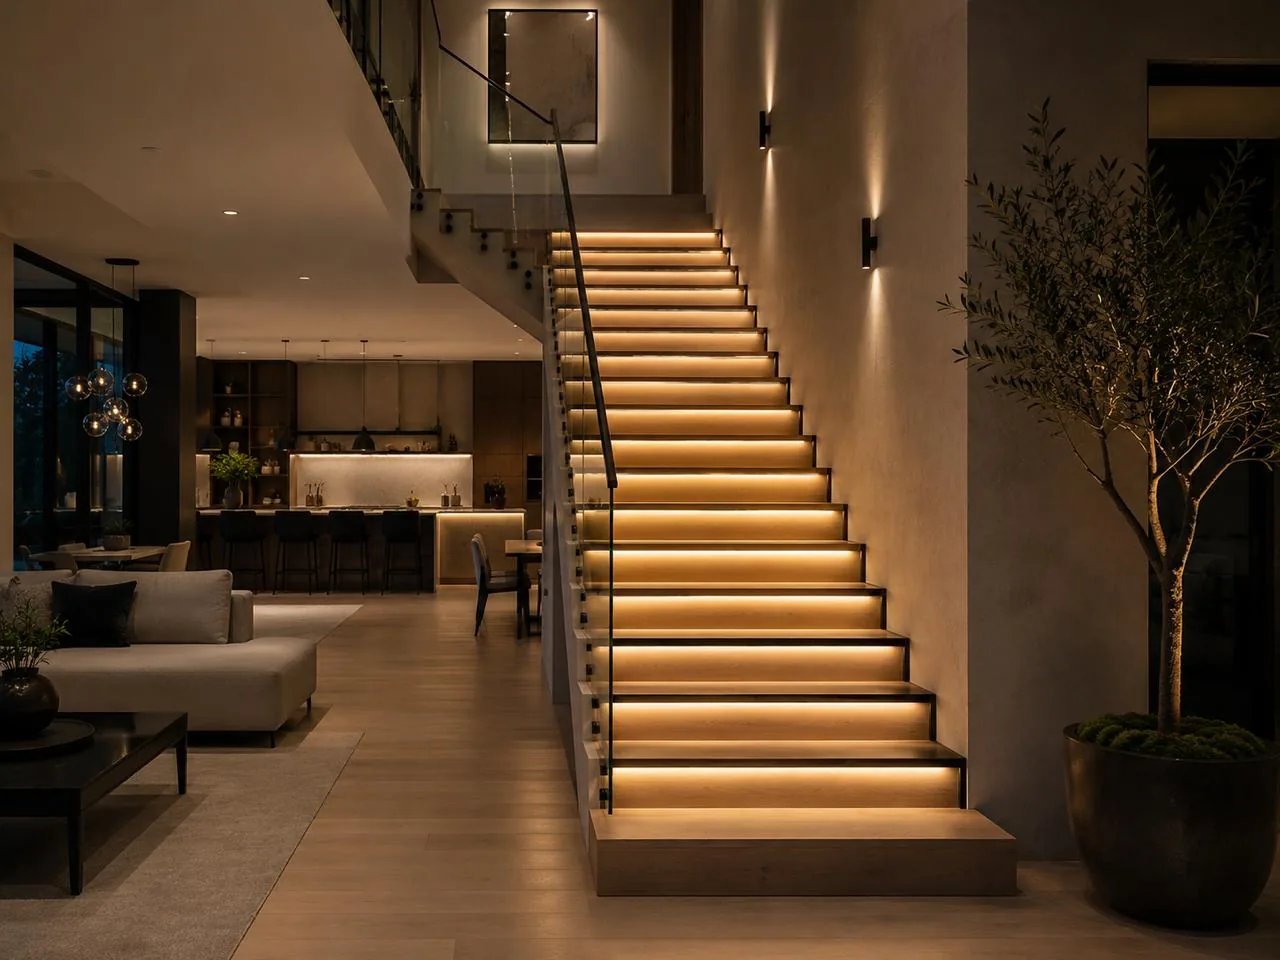
A Class 2 LED driver is a power supply whose output is limited, by design and by its listing, so the low-voltage side is a low fire and shock risk. For LED strip the ceiling is 100 VA per output, which in practice means a 24V Class 2 driver tops out around 96 to 100 W. In exchange, the wiring from the driver to the strip can usually be run with Class 2 methods and cable instead of the wiring methods required for power circuits. That trade, a smaller supply for simpler low-voltage wiring, is why most residential and light commercial strip jobs are built on Class 2 drivers.
Below: what the marking actually means, how the 100 VA ceiling shapes a layout, a worked example of splitting a long run, and the cases where Class 2 is the wrong tool.
What "Class 2" Means in Plain Terms
Class 2 is a category of power-limited circuit in the National Electrical Code. A Class 2 power source limits the voltage and power its output can deliver, including under fault conditions, to levels considered unlikely to start a fire and a low shock risk. The NEC rules for these circuits are in Article 725, and Article 411 covers low-voltage lighting systems, which is where LED strip fed from a Class 2 source usually lands.
Three things matter on a job:
- Power is capped. A Class 2 output can't be rated above 100 VA. For a DC LED driver, read VA as watts.
- Voltage is capped too. 12V and 24V DC drivers sit inside the Class 2 voltage limits for dry locations. The limits are tighter for wet locations, and the allowed power drops at lower output voltages, which is why many 12V Class 2 drivers stop around 60 W.
- The limit comes from the listing, not the wattage. A 60 W driver isn't Class 2 because it's small. It's Class 2 because it was designed and tested as a Class 2 power source and carries that marking.
Why Class 2 Matters on the Job
The input side of any driver is ordinary 120V AC branch-circuit wiring: the circuit from the panel, the switch, the box the driver is fed from. Class 2 changes none of that. An electrician wires the line side the same way regardless of what the driver is.
The difference is on the output. Class 2 circuits can generally be wired with cable listed for Class 2 use: CL2 or CL3 for general in-wall runs, CL2P or CL3P in plenums, CL2R or CL3R in risers. In many situations you don't need conduit or a junction box at every connection on the low-voltage side. A non-Class 2 output is treated more like power wiring, with Chapter 3 wiring methods, enclosed splices and whatever overcurrent protection the listing calls for.
On a kitchen with eight short runs inside the cabinets, that difference is the job. Thin CL2 cable through cabinet backs and stud bays goes in fast, and inspectors know what they're looking at. The one rule you can't skip is separation: Class 2 conductors generally have to be kept apart from line-voltage conductors, so they don't share a raceway, cable or box with 120V wiring unless a barrier or a specific code allowance makes it acceptable.
The 2023 NEC reorganized parts of Chapter 7, and jurisdictions adopt editions on their own schedule. Confirm the rules in force with your inspector or licensed electrician before you rough in.
The 100 VA Ceiling and the 80% Rule
Two rules stack. Class 2 caps the output at 100 VA. Separately, good practice is to load any driver to no more than 80% of its rating: total watts ÷ 0.8 gives the minimum driver size. The powering LED strips guide explains why the headroom matters for heat and service life.
Put them together and a single Class 2 output carries about 80 W of strip at most (100 W × 0.8). On a 96 W driver it's 76.8 W. At 24V that's 3.2 A, a current that keeps feed wires light.
How far that goes depends on the strip's wattage per foot. With a 96 W Class 2 driver loaded to 76.8 W:
| Strip power | Max strip per Class 2 output (24V, 96 W driver) |
|---|---|
| 2 W/ft | 38 ft |
| 3 W/ft | 25 ft |
| 4 W/ft | 19 ft |
| 6 W/ft | 12 ft |
| 8 W/ft | 9 ft |
The strip's own published maximum run often limits you before the driver does, especially on high-output strip. Check both numbers on the spec sheet and use whichever is shorter.
Worked Example: 52 ft of Cove on Class 2 Drivers
Say you're lighting a 52 ft ceiling cove with a 24V strip whose spec sheet lists 4 W/ft.
- Total load: 52 ft × 4 W/ft = 208 W.
- One supply: 208 W ÷ 0.8 = 260 W minimum, so a 320 W unit. That's well past 100 VA, so it isn't Class 2, and the output wiring follows power-circuit rules. It also puts 8.67 A on a single feed. From a closet 40 ft away, you'd need 10 AWG to keep the drop under 3% (0.69 V, 2.9%).
- Class 2 instead: each 96 W driver carries 76.8 W, or 19.2 ft at 4 W/ft. 52 ÷ 19.2 = 2.7, so you need three zones.
- Split at cut points: 18 ft, 17 ft and 17 ft. Loads are 72 W, 68 W and 68 W.
- Size each driver: 72 ÷ 0.8 = 90 W and 68 ÷ 0.8 = 85 W, so three 96 W Class 2 drivers.
- Current per feed: 72 ÷ 24 = 3.0 A on the largest zone, 2.83 A on the other two.
Now the feed wire for the 3.0 A zone:
| Driver location | Wire | Drop | % of 24V |
|---|---|---|---|
| 15 ft away | 18 AWG | 0.58 V | 2.4% |
| 15 ft away | 16 AWG | 0.36 V | 1.5% |
| 40 ft away (closet) | 16 AWG | 0.96 V | 4.0% |
| 40 ft away (closet) | 14 AWG | 0.61 V | 2.5% |
Three drivers at 15 ft on 16 AWG is a comfortable layout. If they all go to a closet 40 ft away, step up to 14 AWG. The wire gauge chart covers other loads and distances.
There's a bonus: three zones means the strip is fed at three points instead of one, so the voltage drop inside the strip shrinks too. Our article on 12V vs 24V voltage drop explains that part. Keep the zones electrically separate where they meet. Butt the strip ends together for a continuous line of light, but don't solder across the joint, or you've tied two drivers' outputs together.

How to Tell a Driver Is Class 2
Don't go by the product name or a line in a catalog. Look for the Class 2 marking on the driver's label, usually worded as "Class 2" or "Class 2 power source" near the output ratings. That label, together with a listing mark from a recognized testing lab, is what an inspector checks. The certifications guide explains what UL and ETL listing marks mean and how to verify them.
A few things that don't count:
- A spec sheet claim with no marking on the unit. If it isn't on the label, assume it isn't Class 2.
- SELV. Safety extra-low voltage is an international classification. It describes a low-voltage output, but it isn't the same thing as an NEC Class 2 listing.
- "Low voltage." Every 24V driver is low voltage. Only some are Class 2.
If you're specifying a driver and the Class 2 status matters for the wiring plan, confirm it on the label of the actual unit before rough-in, not after the cabinets are hung.
Multiple-Output Drivers and Driver Placement
Multiple-output Class 2 drivers
Some drivers put several Class 2 outputs in one housing, each limited to 100 VA. A unit with four outputs can supply far more than 100 W in total while each circuit stays Class 2. One line-voltage connection, one location to service and one dimming input can make these tidy for a kitchen or a run of display shelving.
The rules follow from the limit:
- Each output is its own circuit. Run a separate feed from each output to its own zone, and size each zone to 80 W or less.
- Never parallel outputs. Joining two Class 2 outputs to push more power into one run defeats the limit, and the result is no longer a Class 2 circuit. The same goes for two separate drivers wired to one strip.
- Check the label for each output. The marking should say that every output is Class 2, not just that the unit is.
Remote vs local placement
Where the driver goes decides how long the low-voltage feed is, and Class 2 status doesn't change the physics of voltage drop.
- Remote placement puts drivers in a closet, basement or behind an access panel. Service is easy and heat stays away from finishes, but low-voltage feeds get long. Plan wire size for each feed, or keep zones small so the current stays low.
- Local placement puts the driver close to the strip: in a cabinet, above a ceiling with an access panel, or in a nearby enclosure. The 120V circuit is extended to it with proper wiring methods, and the low-voltage feed shrinks to a few feet. Running the long distance at line voltage is usually the more efficient trade.
Either way, the driver has to stay accessible and ventilated. Never seal one behind finished drywall or inside a cavity with insulation packed around it.
When Class 2 Is Not the Right Tool
Class 2 is a good default, not a rule for every job.
- Large loads. A 400 W facade line split into 80 W zones means at least five drivers, five feeds and five line-voltage connections. A larger non-Class 2 supply feeding power-rated distribution can be simpler, but the low-voltage side then needs power-circuit wiring methods. That's a design decision for the electrician of record.
- Long feeds. Class 2 doesn't fix voltage drop. If the only driver location is 80 ft from the strip, the answer is a closer driver or heavier wire, not a different listing.
- 12V systems. With many 12V Class 2 drivers around 60 W, you get about 48 W of strip per output, or 4 A. On new work, 24V gives you twice the power per Class 2 output.
- Wet and outdoor locations. Class 2 helps, but it doesn't replace strip, connections and enclosures rated for the location, and the voltage limits there are lower. Check both the driver listing and the local rules.
Class 2 vs Non-Class 2 at a Glance
| Class 2 driver | Non-Class 2 driver | |
|---|---|---|
| Output power | Up to 100 VA per output | Any size the unit is rated for |
| Practical strip load (24V, 80% rule) | About 77 to 80 W per output | Driver rating × 0.8 |
| Line-voltage input | Branch-circuit wiring | Branch-circuit wiring |
| Low-voltage wiring | Class 2 methods, CL2/CL3 cable, separated from line voltage | Power-circuit wiring methods |
| Splices on the output | Fewer enclosure requirements in many cases | Treated like power wiring |
| Typical use | Homes, cabinets, coves, shelving, hospitality | Large facade or commercial loads with designed distribution |
| How to confirm | Class 2 marking on the label | Listing and the electrician's design |
Browse drivers by voltage and dimming method under Power & Control, and check the label of the unit you receive for the Class 2 marking.
Common Mistakes
- Assuming every low-voltage driver is Class 2. Many larger 24V supplies are not. Read the label before you pull CL2 cable.
- Loading a 96 W Class 2 driver to 96 W. The listing allows it, but the 80% rule doesn't. Plan on about 77 W of strip.
- Tying outputs together. Bridging two zones at a strip joint, or wiring two drivers to one run, parallels Class 2 sources.
- Running Class 2 cable beside 120V in the same box or raceway. Keep them apart or use a listed barrier, as the code and your inspector require.
- Using lamp cord or unmarked speaker wire in the wall. In-wall Class 2 wiring needs cable marked for the purpose, such as CL2 or CL3.
- Forgetting that 12V Class 2 drivers are smaller. A layout planned around 80 W zones won't work at 12V.
- Burying the driver. Class 2 or not, it needs access and airflow.
Frequently asked questions
What does Class 2 mean on an LED driver?
It means the driver's output is listed as a Class 2 power source under the NEC, limited to 100 VA with capped voltage, so the low-voltage side is a low fire and shock risk. That allows Class 2 wiring methods and cable on the output side.
How many watts can a Class 2 LED driver supply?
A Class 2 output is limited to 100 VA, so 24V Class 2 drivers top out around 96 to 100 W. At the 80% loading rule, plan on about 77 to 80 W of LED strip per output, and less at 12V.
Do I need a Class 2 driver for LED strip lights?
Not always, but it's the usual choice for homes and light commercial work because the low-voltage wiring is simpler. Large loads can use non-Class 2 supplies with power-rated wiring; confirm the approach with your inspector.
Can I connect two Class 2 drivers together for more power?
No. Paralleling Class 2 outputs, or feeding one strip run from two drivers, defeats the power limit and the circuit is no longer Class 2. Split the strip into separate zones with one driver output each.
What wire do I use for Class 2 LED strip circuits in walls?
Use cable marked for Class 2 use, typically CL2 or CL3, with the plenum or riser versions where those spaces require them. Size the gauge for voltage drop, and keep it separated from 120V wiring.
Specify with ENKORA
Working on a project? Send us the drawings and we will propose strips, profiles and drivers that fit together.