How to Wire LED Strip to a 0-10V Dimmer
How a 0-10V dimmer and driver talk to each other, the wiring step by step, how many drivers one dimmer can handle, and the mistakes that leave strips stuck at full.

To dim LED strip with 0-10V you need a 0-10V dimmable driver. Line voltage runs through the dimmer's switch to the driver's input, the driver's 12V or 24V DC output feeds the strip, and a separate pair of low-voltage control wires, commonly purple and gray, runs from the dimmer to the driver's dimming terminals. The dimmer never carries the strip's power. It only tells the driver how bright to run. That split between power and control is why 0-10V is the default for commercial LED strip dimming: it's simple, it scales to many drivers, and nearly every electrician has wired it before.
How 0-10V Dimming Works
A 0-10V system has two separate sets of wires.
- Power: the 120V AC circuit to the driver, and the driver's DC output to the strip.
- Control: two low-voltage conductors between the dimmer and the driver, usually labeled DIM+ and DIM-. On many drivers and dimmers DIM+ is purple (violet) and DIM- is gray. Some products use pink for DIM-, so read the labels rather than trusting color.
On the control pair, the driver supplies a small DC current and the dimmer absorbs it. In the trade that dimmer is a "sinking" control: as you turn it down, it pulls the voltage on the pair lower. The driver reads that voltage and sets its output.
- 10 V means full output.
- Lower voltage means lower output, on a curve the driver manufacturer sets.
- Around 1 V is usually the bottom of the range. At or near 0 V, some drivers hold at their minimum level and some shut the output off. Dim-to-off behavior varies by driver, so check the datasheet.
- An open circuit (control wires disconnected or broken) makes most drivers run at full output. That's a useful fail-safe and a handy clue when you're troubleshooting.
Because the current comes from the driver, the control is a sink. Some controllers, particularly in theatrical equipment, source the current themselves instead. A sourcing control and a sinking driver don't mix, so confirm both ends use the same convention.
The Dimmer Usually Has to Switch the Power Too
Turning a 0-10V signal all the way down doesn't reliably turn the lights off. Many drivers stop at 1% or 10% and stay there. For a real off, something has to open the line voltage to the driver.
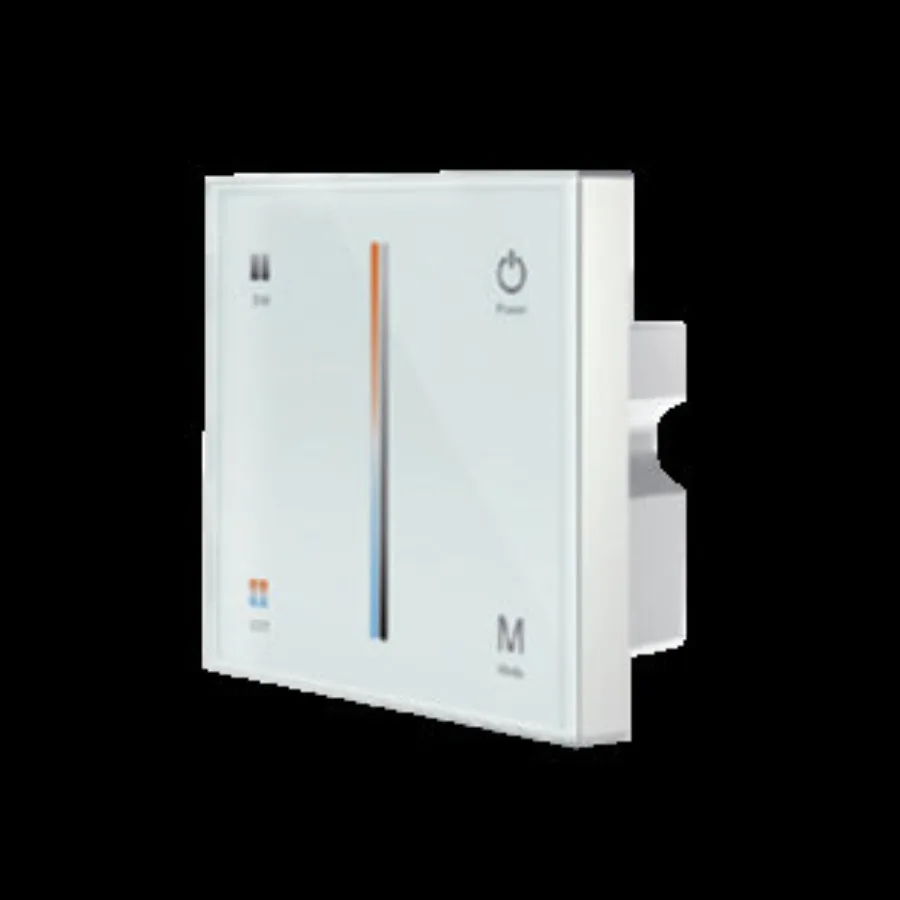
Most 0-10V wall dimmers handle that with a built-in switch or relay: line hot comes in, a switched hot goes out to the driver, and the dimmer opens it when you press off. If your 0-10V control is low-voltage only, as with a sensor, a building control output or some keypads, add a switch or a relay power pack on the line side. Check that the switching device is rated for the load, and for LED drivers specifically. Drivers draw a large inrush current at switch-on, and contacts sized only for steady-state current can weld or wear out early.
Step-by-Step Wiring
Gather the parts first, then work from the panel out to the strip.
What you need
- A 0-10V dimmable driver with the output voltage your strip needs (12V or 24V DC), sized at total strip watts ÷ 0.8. You'll find options under dimmable drivers.
- A 0-10V dimmer or control that switches line voltage, or a separate switch or relay for that job. Wall dimmers, keypads and other control options are under controllers.
- Line-voltage cable and boxes per code, plus a control pair rated for how you'll run it (more on that below).
- The strip, feed wire and connectors, with the feed sized for voltage drop.
Use the power supply calculator to size each driver before you buy.
The steps
These steps follow a typical wall-box 0-10V dimmer with a built-in switch. Terminal names and wire colors vary by product, so follow the diagrams on both the driver and the dimmer.
- Kill the power. Turn off the breaker and confirm the circuit is dead with a tester at the box.
- Mount the driver where it stays accessible and ventilated: a closet, an access panel or a cabinet void, never sealed behind drywall.
- Land the line in. Connect the circuit's hot to the dimmer's line terminal (often black), the neutral to the dimmer if it needs one, and ground to the dimmer's ground.
- Run the switched hot. Connect the dimmer's load lead (often red) to the driver's AC line input (L). Connect the driver's neutral (N) to the circuit neutral and its ground to the circuit ground.
- Connect the driver output to the strip. Driver V+ to strip +, driver V- to strip -. Polarity matters; a reversed strip simply stays dark.
- Connect the control pair. Dimmer DIM+ (commonly purple) to driver DIM+, dimmer DIM- (commonly gray) to driver DIM-. For several drivers on one dimmer, connect them in parallel: every DIM+ together, every DIM- together.
- Dress the wiring. Keep the control pair separated from line voltage as its rating requires, cap any unused leads, and label the zone at the driver.
- Test before you close up. Turn the dimmer to full, to minimum and off. If the dimmer has a low-end trim adjustment, set it so the lowest setting is stable and doesn't drop out.
The wiring diagram in table form
| Terminal | Wire (common color) | Goes to |
|---|---|---|
| Dimmer LINE | Black | Circuit hot from the panel |
| Dimmer LOAD | Red | Driver AC input L (switched hot) |
| Dimmer NEUTRAL (if required) | White | Circuit neutral |
| Dimmer GROUND | Green or bare | Circuit ground |
| Driver AC N | White | Circuit neutral |
| Driver GROUND | Green or bare | Circuit ground |
| Driver DIM+ | Purple | Dimmer DIM+ |
| Driver DIM- | Gray | Dimmer DIM- |
| Driver V+ (DC out) | Red or marked + | Strip + |
| Driver V- (DC out) | Black or marked - | Strip - |
Colors are conventions, not guarantees. If a lead's label and its color disagree, go with the label.
How Many Drivers Can One Dimmer Control?
Two limits apply, and you have to check both.
Control current. Each driver puts a small current on the control pair, and the dimmer can only sink so much. Divide the dimmer's sink rating by the driver's control current. As a purely hypothetical example, a dimmer rated to sink 20 mA with drivers that each source 1 mA could in theory handle 20 drivers, and with drivers that source 0.5 mA, 40. Real figures vary widely between products, so read both datasheets and leave some margin. Some dimmers simply list a maximum number of drivers, which is easier.
Switched load. The dimmer's switch or relay carries the line current of every driver it feeds, plus their combined inrush at switch-on.
Worked example: four zones on one dimmer
A reception area has four runs of 24V strip, 18 ft each, on a strip rated 4 W/ft.
- Load per run: 18 ft × 4 W/ft = 72 W, or 3.0 A at 24V.
- Driver per run: 72 ÷ 0.8 = 90 W minimum, so a 96 W 0-10V driver on each.
- Line side: assuming about 88% driver efficiency, each draws roughly 82 W from the line, so about 327 W in total, or 2.7 A at 120V. Use the input current from the driver's datasheet rather than this estimate, and check it against the dimmer's LED load rating.
- Control side: with the hypothetical 1 mA per driver, four drivers put 4 mA on the pair, well under a 20 mA sink rating.
Both limits pass, with room to add a zone later.
Running the Control Pair
The control pair is low voltage, but how it may be installed depends on how the driver and dimmer rate those terminals. Many drivers mark their dim leads as Class 2. Others rate them as Class 1, or insulate them for line voltage, so they can share an enclosure with the 120V conductors.
- If the control circuit is Class 2, keep it separated from line-voltage conductors: its own raceway or cable, and a barrier where it has to pass through a shared box.
- If both ends allow Class 1 control wiring, the pair can often run with the line-voltage conductors, using wire insulated for the highest voltage present.
Rules differ between code editions and jurisdictions, so confirm the method with your inspector or a licensed electrician. Whatever the rating, keep polarity consistent at every driver, use the conductor size the manufacturers call for, and avoid long parallel runs tight against line-voltage cable, which can couple noise into the signal.
Low-End Performance and Minimum Dimming Level
The driver, not the dimmer, sets how low the light goes and how smooth it looks on the way down. Driver datasheets list a minimum dimming level. Typical figures are 10%, 1% and 0.1%.
Your eye doesn't see light output linearly. A strip at 10% measured output looks roughly like a third of full brightness, so a driver that bottoms out at 10% can feel like it never really dims. Restaurants, galleries, bedrooms and anywhere people want a low evening scene usually need a 1% driver or better.

Watch for these at the bottom of the range:
- Drop-out or pop-on: the light cuts out below a certain setting, or jumps on at a level above minimum. Raise the dimmer's low-end trim.
- Visible flicker or camera banding at low levels, which comes from how the driver regulates its output. Our guide to LED strip flickering walks through the causes.
- Mismatched zones: two driver models on one dimmer can follow different curves and stop at different minimums. Use the same driver throughout a space.
0-10V vs TRIAC, ELV, DALI and DMX
If 0-10V is not settled yet, our guide to which dimmer works with LED strip walks through every method in more depth. The short version:
| Method | Control wiring | How it works | Typical use | Watch for |
|---|---|---|---|---|
| 0-10V | Separate low-voltage pair, plus switched line | Analog voltage from 10 V (full) down to about 1 V | Commercial, offices, retail, larger homes | Control wire rating, dimmer sink limit |
| TRIAC (forward phase) | None; dims the 120V line | Chops the front of the AC wave | Residential retrofits on existing dimmers | Dimmer and driver compatibility, minimum load |
| ELV (reverse phase) | None; dims the 120V line | Chops the back of the AC wave | Residential, often smoother at low levels than TRIAC | Needs a dimmer and driver rated for ELV |
| DALI | Two-wire digital bus | Addressable digital commands | Larger commercial, per-fixture control | Programming and addressing |
| DMX | Data cable in a chain | Digital channels from a controller | Color, entertainment, architectural effects | Addressing, termination, cable runs |
TRIAC and ELV are attractive in remodels because they reuse the existing two-wire switch leg. 0-10V needs the extra pair but is more predictable across many drivers. DALI and DMX add per-zone or per-channel control. The dimming and control guide covers when each one makes sense.
Safety Note
The line-voltage side of a 0-10V system is ordinary 120V branch-circuit wiring. Have a licensed electrician do that part and pull the permit where required. Turn off the breaker before working in any box, keep every driver accessible for service, and don't close up walls or ceilings until the system has been tested at full, minimum and off.
Common Mistakes
- Swapped control wires. DIM+ and DIM- reversed usually leaves the strip stuck at full or at minimum. Check polarity at every driver.
- A Class 2 control pair run beside line voltage. Sharing a raceway or box with 120V without proper separation is a code problem and a noise source.
- Too many drivers on one dimmer. Exceed the sink rating and the dimming range shrinks or stops working, and exceed the switch rating and the relay fails early.
- Expecting a 0-10V driver to work on a phase dimmer. A TRIAC or ELV wall dimmer doesn't send a 0-10V signal. Unless the driver's label lists phase dimming as well, the strip won't dim properly and may flicker.
- No line switch. Without a switched hot, a strip that only dims to 1% or 10% never turns fully off.
- Mixed driver models in one zone. Different curves and minimum levels make neighboring runs look mismatched at low settings.
Frequently asked questions
How do you wire a 0-10V dimmer to LED strip lights?
Run the line hot through the dimmer's switch to the driver's AC input, connect the driver's DC output to the strip, and connect the dimmer's DIM+ and DIM- (commonly purple and gray) to the driver's matching dim terminals. The strip needs a 0-10V dimmable driver.
What are the purple and gray wires on a 0-10V LED driver?
They're the low-voltage dimming control pair: purple is commonly DIM+ and gray is commonly DIM-. They connect to the matching terminals on the 0-10V dimmer, not to the line voltage or the strip.
Can I use a regular dimmer with a 0-10V LED driver?
Usually not. A standard TRIAC or ELV wall dimmer chops the line voltage and sends no 0-10V signal, so a 0-10V driver won't dim correctly unless its label says it also supports phase dimming.
How many 0-10V drivers can one dimmer control?
Divide the dimmer's control sink rating by each driver's control current, then check that the dimmer's switch can carry the drivers' combined line load and inrush. Both datasheets list these figures.
Does 0-10V dimming turn LED strips off?
Not reliably. Many drivers hold at their minimum level at 0 V, so the dimmer or a separate switch has to open the line voltage to the driver for a true off.
Specify with ENKORA
Working on a project? Send us the drawings and we will propose strips, profiles and drivers that fit together.