Backlit Onyx and Stone: How to Light Countertops, Bars and Walls Evenly
How to get an even glow behind onyx, quartzite and translucent panels: the light source, the cavity, the backer, the color and the driver math for a bar front.
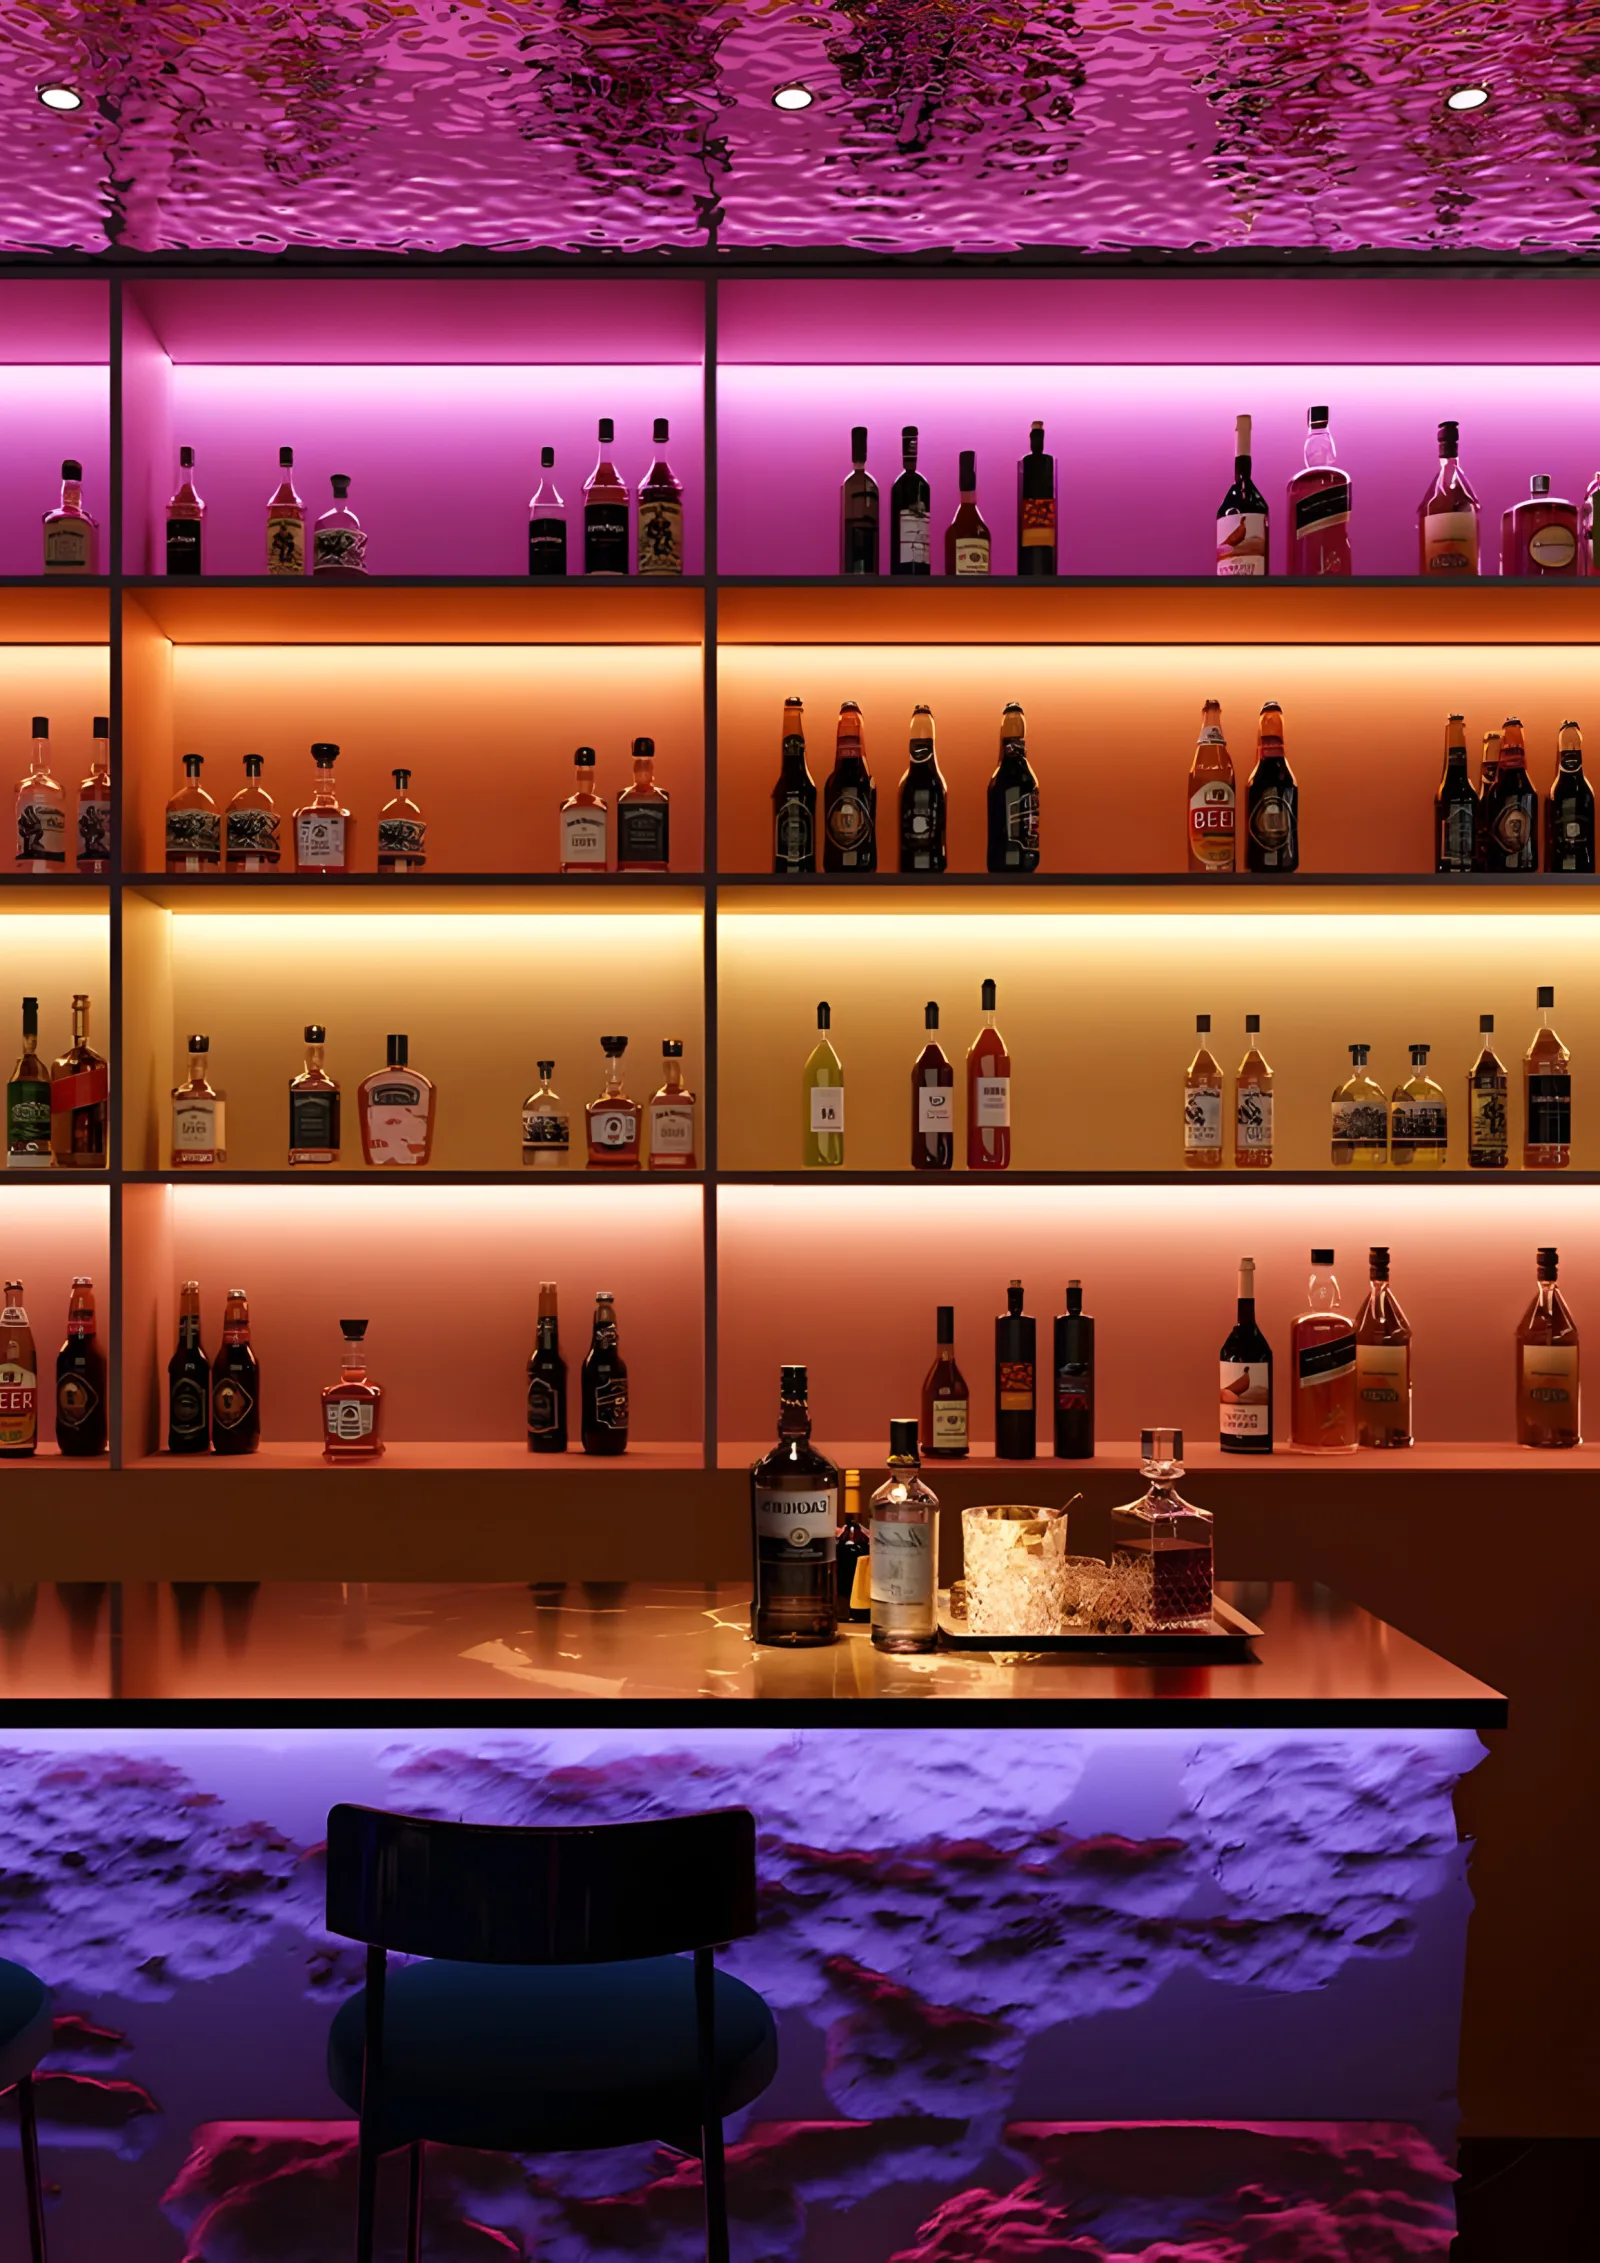
Backlit onyx looks expensive for a simple reason: the light comes through the stone, so the veining glows from inside. Doing it well comes down to an even light source behind the slab, enough depth between the LEDs and the stone to blend the light, a white reflective backer, and a driver that sits somewhere you can reach it. Get the evenness wrong and the stone shows every LED as a bright stripe or dot, which no amount of veining hides.
This guide covers backlit countertops, bar fronts and wall panels. The principles are the same for all three; what changes is how deep the cavity can be and how you get to the electronics later.
Which Stones and Materials Backlight Well
Not every stone lets light through. The ones that do, in general terms:
- Onyx. The classic choice. Banded, highly translucent in thin sections, warm in tone. It's soft and brittle compared with granite, so slabs are often laminated to glass or a rigid backer for strength.
- Translucent quartzite. Some quartzites pass light well, with a cooler, crystalline look. Translucency varies a lot from slab to slab, even from the same quarry block.
- Alabaster. Very translucent and soft, more common on wall panels and light fixtures than on working surfaces.
- Translucent engineered quartz and resin panels. Made for backlighting, with predictable, even transmission. Some resin panels can yellow over time with heat or UV, so check the maker's guidance.
- Thin stone veneers laminated to glass or a translucent backer, used where weight matters.
Thickness and color decide how much light gets through. Thinner and lighter pieces transmit more; dark bands and dense veins block it. That's why two slabs of "the same" onyx can need very different light levels.
The one rule that matters here: hold a light behind the actual slab before you design the lighting. A sample from the yard tells you more than any spec.
Light Source Options: Sheets, Strip Grids, Edge-Lit Panels
There are three practical ways to put light behind a translucent surface.
Flexible LED sheets are thin, flexible panels with LEDs laid out in a grid at a fixed pitch. You cut them to shape, lay them on the backer, and wire the pieces together. They make even coverage easy because the LED spacing is already set. See flexible LED sheets for the format.
A grid of parallel strips is the traditional method: rows of LED strip on a white backer at a set spacing. It's flexible in layout and easy to source, but the evenness depends entirely on your spacing and the cavity depth.
Edge-lit panels use a light guide (an engineered acrylic sheet) lit from the edges. They're very thin, which helps where depth is limited, but large panels can fall off toward the center and they need edge access for the LEDs.
| Option | Evenness | Depth needed | Labor | Best for | Drawbacks |
|---|---|---|---|---|---|
| Flexible LED sheet | High; pitch is fixed | Moderate | Low; cut and lay | Countertops, irregular shapes, curved surfaces | Many small connections on large areas; check the cut lines |
| Grid of parallel strips | Good when spacing is right | Moderate to deep | High; many rows to lay and wire | Large flat walls, bar fronts, tight budgets | Stripes if rows are too far apart for the depth |
| Edge-lit panel | Good on small panels | Very shallow | Moderate | Thin wall cladding, shallow casework | Large sizes may dim toward the center; edges must stay accessible |
For most countertops and bar fronts, sheets or a strip grid are the realistic choices. Browse the stone backlighting collection for products suited to this work.
Cavity Depth vs LED Spacing
This is where backlit stone succeeds or fails.
Each LED throws a cone of light. Close to the LED, the cones are separate, so the stone sees bright spots with darker gaps between. Move the stone farther away and the cones overlap until the light is even. The relationship is simple:
- Deeper cavity: you can space the LEDs or strip rows farther apart.
- Shallower cavity: you need the LEDs closer together, a diffuser layer, or both.
A common starting point for a strip grid is to keep row spacing no greater than the distance from the LEDs to the back of the stone. Treat that as a first guess, not a rule. The stone's own translucency changes the answer: a dense, thick onyx diffuses more and hides spacing better than thin, clear alabaster. Flexible sheets follow the same logic; their fixed pitch works best within the depth range the maker recommends.
The only reliable way to settle it: build a test. Take an offcut or sample slab, set up a mock cavity at the depth your design allows, light it with the product and spacing you plan to use, and look at it in a dark room. If you see stripes, either increase depth, tighten spacing, or add a diffuser. A one-hour mock-up saves a full panel replacement.
The Backer and the Diffuser Layer
Whatever the light source, the cavity behind it should be matte white. A white backer bounces light that would otherwise be lost and fills the gaps between LEDs. Gloss white or mirrored surfaces can create bright reflections that show through the stone; matte white spreads the light more evenly. Paint the inside of the cavity white too, including the sides, or the edges of the slab go dark.
An acrylic diffuser sheet (opal or frosted) between the LEDs and the stone is the cheapest insurance against hot spots in a shallow cavity. It costs some light, so you may need a little more output to compensate, but it buys a lot of evenness. Many fabricators already laminate onyx to a clear or opal backer for strength; if yours does, that layer may do some of the diffusing for you. The profiles and diffusers guide explains how different lenses trade light for smoothness.
Color Temperature and How the Stone Looks
The color of the light changes the color of the stone. Onyx is often honey, amber or green; white onyx and quartzite lean cool.
- Warm white (2700K to 3000K) deepens amber and gold onyx and suits restaurants, bars and residential kitchens. It can make a white stone look creamy.
- Neutral white (3500K to 4000K) keeps white onyx and quartzite crisp and shows the true color of green and gray stones.
- Cool white (5000K and up) is rarely flattering on natural stone. Use it only if the design calls for it.
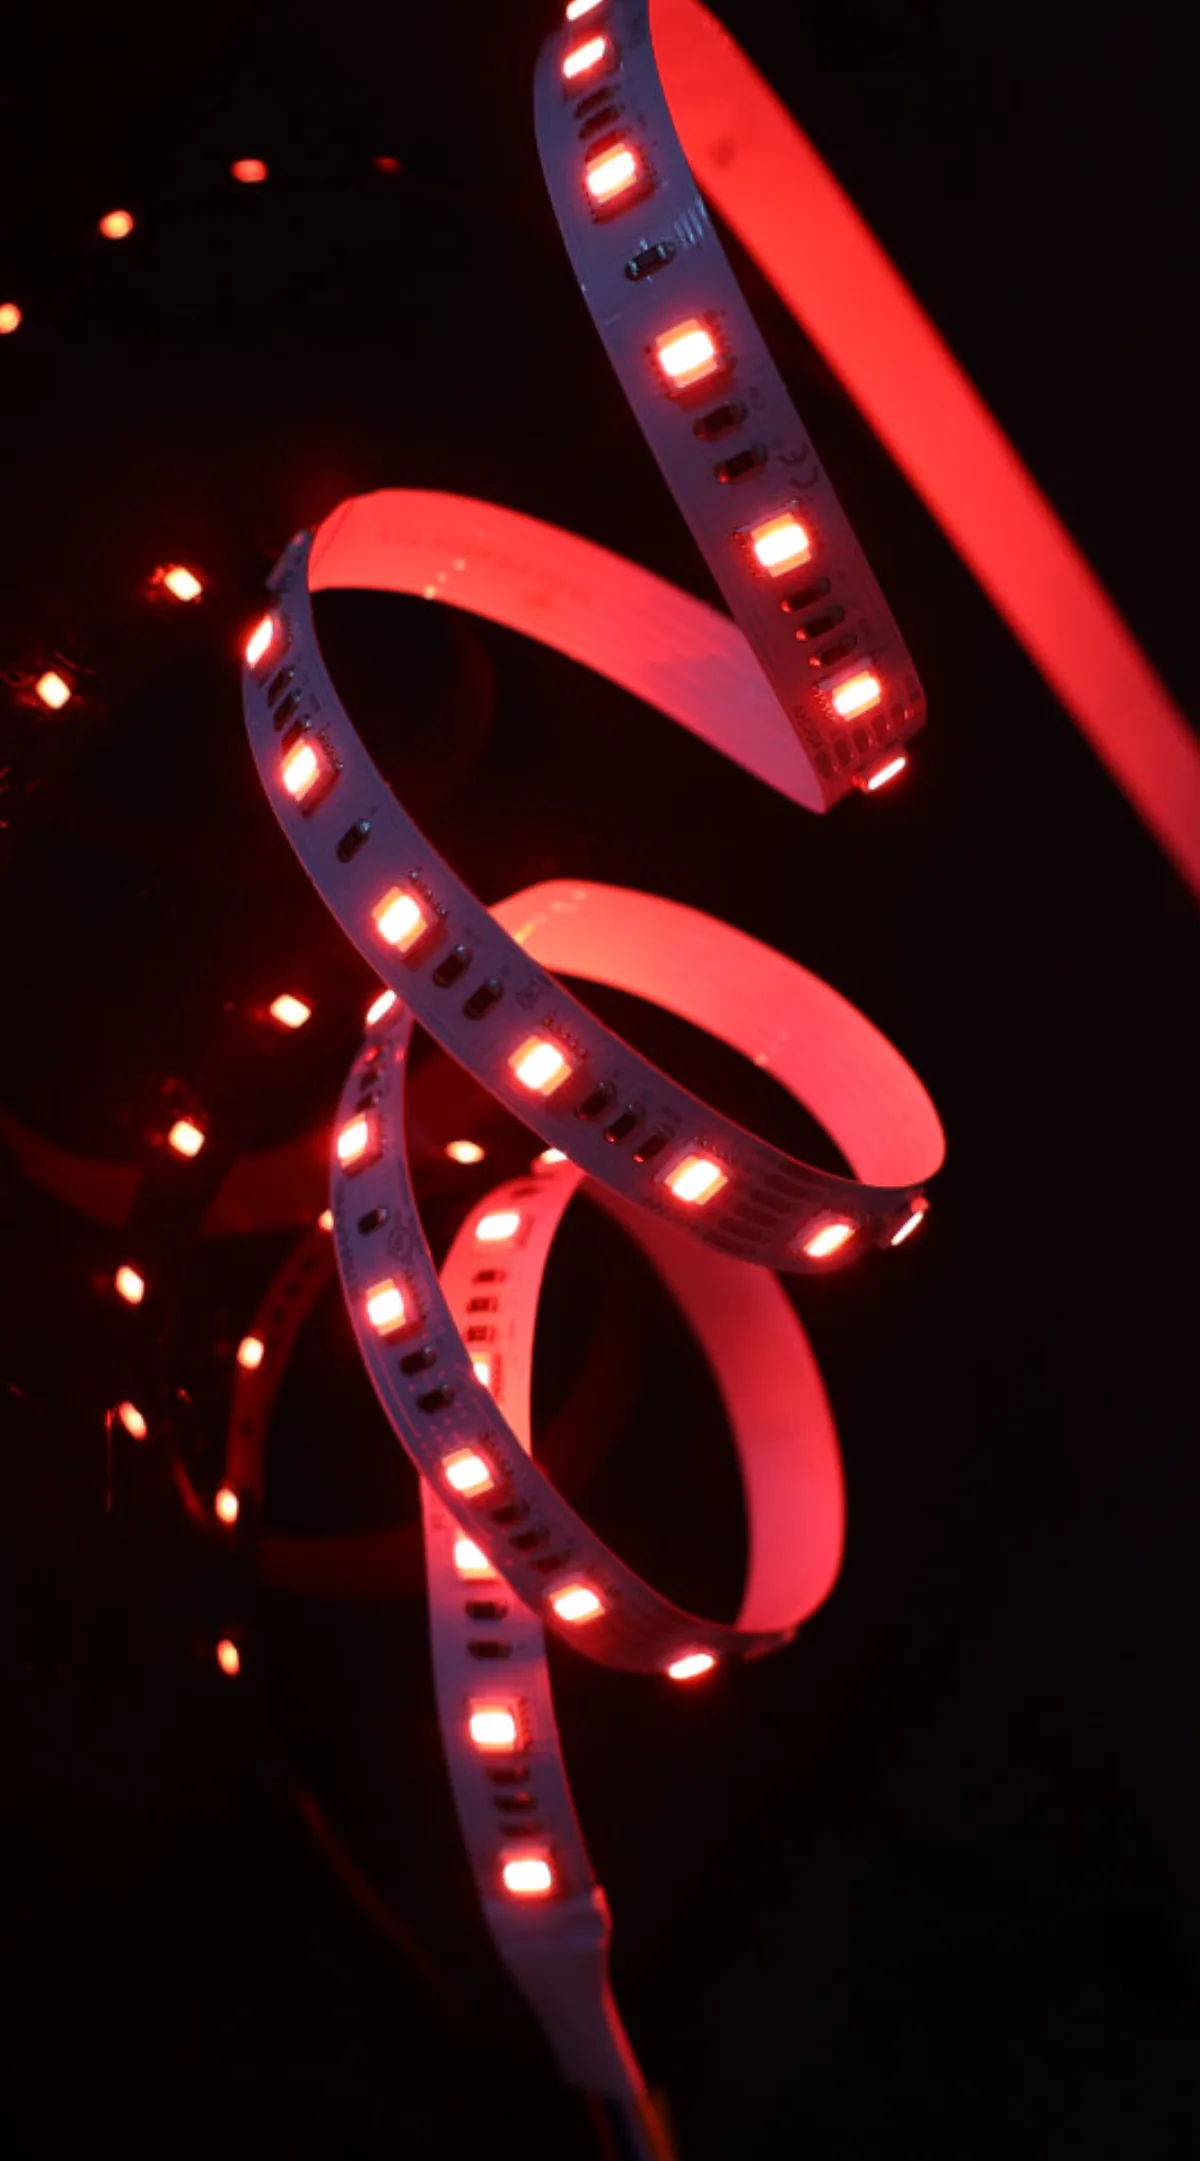
The color temperature guide has more on matching sources. For bars and hospitality, tunable white lets you shift from neutral during service to warm in the evening, and RGBW gives color for events while keeping a real white channel for everyday use. RGB alone makes poor white light, so if white is the normal state, choose RGBW.
Dimming
Backlit stone almost always looks better below full output. At full power it can read as a light box rather than glowing stone. Plan for dimming from the start:
- choose a dimmable driver and a control that work together (phase dimmer, 0–10V, or a dedicated LED controller);
- for tunable white or RGBW, use a controller with the matching number of channels;
- dim test the actual slab at night, in the actual room, before you sign off.
Heat, Ventilation and Service Access
A sealed cavity behind stone traps heat. LEDs at moderate output don't run hot, but a closed box with no airflow still builds up temperature over hours of use, and heat shortens LED life and shifts color.
- Mount on aluminum where you can. Strip on an aluminum backer or channel sheds heat better than strip on MDF.
- Leave a ventilation path if the cavity is long and closed: small gaps top and bottom of a bar front let warm air move.
- Run the stone below full output. Dimming reduces heat as well as glare.
The driver never goes inside the sealed cavity. Put it somewhere accessible, such as the back-bar cabinet, an adjacent base cabinet, or behind an access panel, and run low-voltage leads to the cavity. Then plan how someone gets to the LEDs themselves. A wall panel can hang on French cleats or standoff hardware so it lifts off. A bar front can have removable panels from the bartender's side. A countertop is the hardest; access usually comes from below through the cabinet, with the light source on a removable tray.
Coordinating With the Fabricator
Backlit stone is a joint job between the lighting installer, the stone fabricator and the cabinet or millwork shop. Agree on these before anything is cut:
- Support. Translucent stone is often thinner and weaker than standard countertop stone. The fabricator decides on lamination, backer and support; the lighting has to fit around those supports without casting shadows on the stone.
- Cutouts. Sinks, cooktops and faucet holes interrupt the light. Plan the sheet or strip layout around every cutout and keep LEDs away from the heat of a cooktop.
- Water. Near a sink or bar wash station, water finds its way under the stone. Use LED products with an IP rating that fits the location (check the spec sheet) and keep connections above any likely drip path.
- Seams. A seam over an LED row shows as a bright line. Coordinate seam positions with the layout.
- Cavity depth. Agree on the finished depth early, since the cabinet maker builds it and your spacing depends on it.
When the drawings are ready, send them through a project quote so the layout, drivers and controls can be specified together.
Worked Example: Sizing Drivers for a Bar Front
A bar front 12 ft long with a backlit onyx panel 36 in tall, lit by a grid of horizontal strip rows.
Layout. Rows at 4 in on center, with the first and last rows 2 in from the panel edges: rows at 2, 6, 10 and so on up to 34 in. That's 9 rows. (Your mock-up decides the real spacing.)
Strip length. 9 rows × 12 ft = 108 ft.
Load. Say the strip's spec sheet lists 3 W/ft (use your product's figure): 108 ft × 3 W/ft = 324 W.
Total driver capacity. 324 W ÷ 0.8 = 405 W.
You could cover that with one large driver, but a supply that size is not Class 2, and the low-voltage wiring then follows different rules. Splitting the load into Class 2 zones is usually simpler:
- a 96 W driver loaded to 80% carries 96 × 0.8 = 76.8 W, or 25.6 ft of 3 W/ft strip;
- two 12 ft rows = 24 ft × 3 W/ft = 72 W per driver, which fits;
- 9 rows = four drivers with two rows each, plus one driver with a single row = five 96 W drivers.
Current and wire. Each two-row zone draws 72 W ÷ 24 V = 3 A. With the drivers in the back-bar cabinet 15 ft away (one way), on 16 AWG copper (4.016 Ω per 1,000 ft):
2 × 15 ft × 3 A × 0.004016 Ω/ft = 0.36 V drop, about 1.5%.
On 18 AWG the same run drops about 0.57 V (2.4%), workable but closer to the limit. The power supply calculator runs these numbers for any length, and powering LED strips covers feed layouts for long runs. Zoning also helps the dimming: put all five drivers on the same control so the panel dims as one surface.
Common Mistakes
- No mock-up. Designing spacing from a rule of thumb and discovering stripes after the stone is installed.
- Cavity too shallow for the spacing. The single most common cause of visible hot spots. Add depth, tighten spacing or add a diffuser.
- Brown or bare cavity. Unpainted plywood soaks up light and tints it. Paint it matte white.
- Driver sealed in the cavity. Heat builds up and the first failure means removing the stone.
- No access plan. Countertops installed with the light source glued in place and no way to reach it.
- RGB instead of RGBW. Mixed-color white looks pink or green on stone. Use a strip with a real white channel.
- Ignoring the slab's own color. A cool 4000K light behind honey onyx turns it gray.
- Seams and supports over LED rows. They show up as lines or shadows in the finished stone.
Frequently asked questions
How do you backlight onyx evenly?
Use an even light source (a flexible LED sheet or a grid of strip rows), a matte white backer, and enough depth between the LEDs and the stone for the light to blend. Test the spacing on a sample of the actual slab before you build.
How far should LEDs be from backlit onyx?
It depends on the LED spacing and the stone. A common starting point is to keep the spacing between rows no greater than the distance to the stone, then confirm with a mock-up using an offcut of the real slab.
Are LED sheets or LED strips better for a backlit countertop?
Flexible LED sheets make even coverage easier because the LED pitch is fixed and they cut to shape around sinks and corners. A strip grid can cost less on large flat areas but needs careful spacing to avoid stripes.
What color temperature is best for backlit onyx?
Warm white, 2700K to 3000K, suits amber and honey onyx; neutral 3500K to 4000K keeps white onyx and quartzite crisp. Tunable white or RGBW works well in bars where the mood changes through the evening.
Where does the driver go for a backlit onyx bar?
Outside the sealed cavity, in an accessible place such as the back-bar cabinet or behind an access panel. Low-voltage leads run from the driver to the light source behind the stone.
Specify with ENKORA
Working on a project? Send us the drawings and we will propose strips, profiles and drivers that fit together.